Making A Chisel / Plane Iron Sharpening Jig Homemade Machines & Jigs
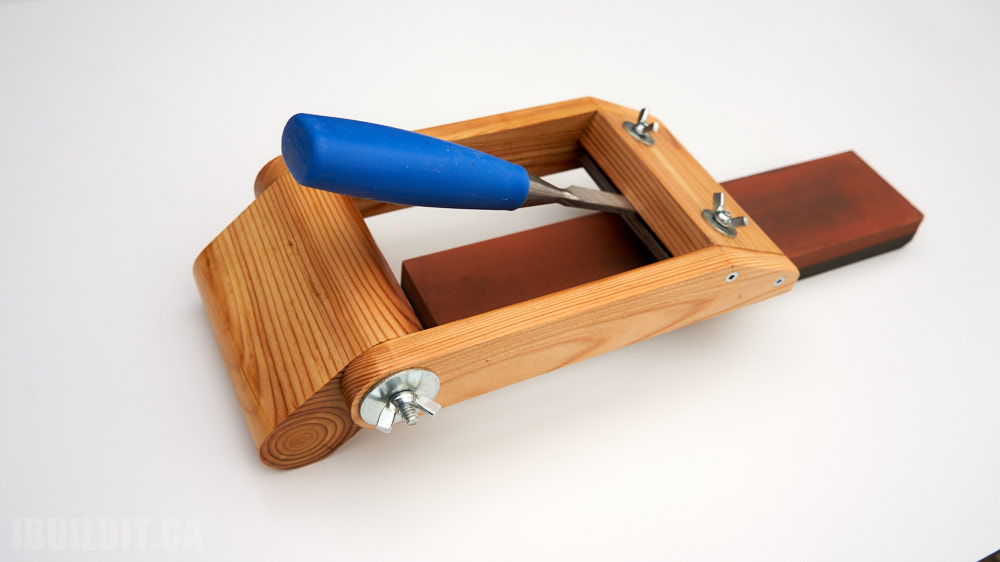
Need sharp chisels? Planes? Who doesn’t, right? This jig is the answer. It not only makes these tools insanely sharp, it also does it with machine-like precision. And the best part is that it’s easy to make and costs very little to build.
NOTE: This project has been revised. The original build article (for an earlier plan version) is here. The build video is here.
The video goes through the build from start to finish and also has a demonstration of the jig in action:
Stock Prep
I decided to use one of my vintage 2 x 4’s to make mine. This one is rough looking with lots of nail holes, knots and cracks, but has a “good” section near the middle that can be used:
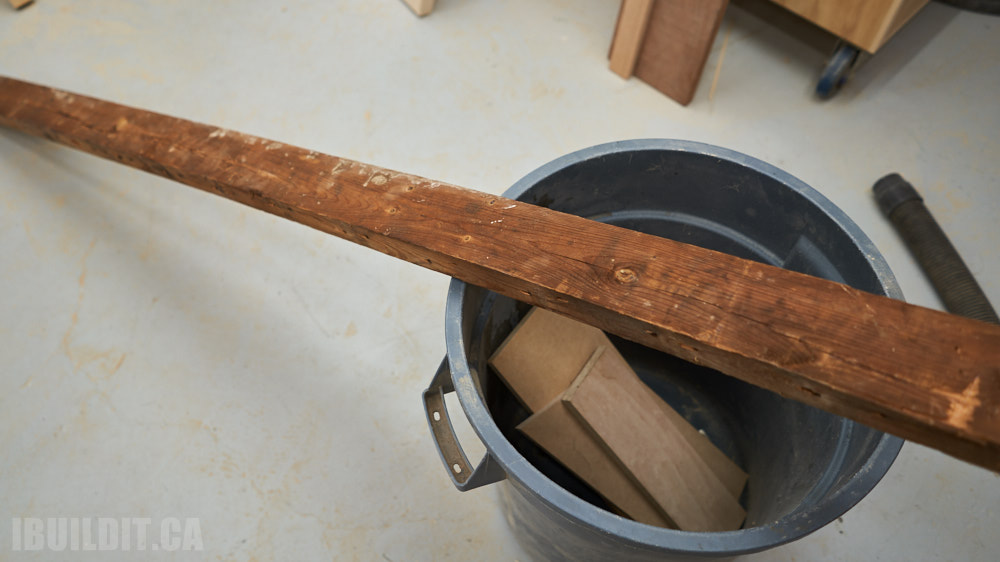
The jig doesn’t use much material, so this piece should be more than enough:

The wood had some concrete on it (I guess it was used for formwork at some point) and I carefully scraped that off before cutting it. I then pulled out my homemade jointer to flatten one face and square one edge:

A few passes through the planer brought the thickness down and cleaned up the sides to like-new condition:

That’s the beauty of wood – unless it’s rotten, just beneath that grungy surface is perfectly fine stock. And since this wood has been indoors for the last 70 years, it’s perfectly seasoned as well.
The Parts
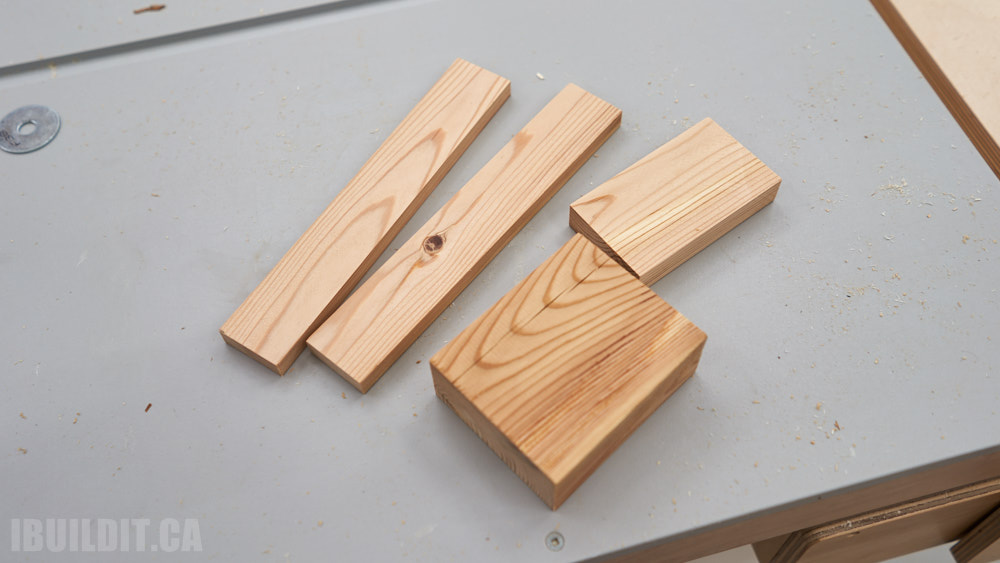
These are the four wooden parts needed to make the jig, rough cut from the board:
The back leg needs to be rounded on the top and bottom, so I clipped off the corners on the table saw:

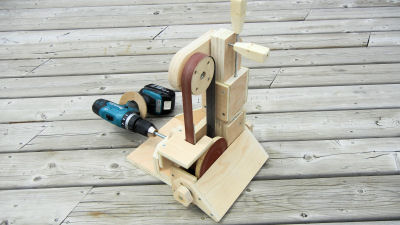
Then finished smoothing it on my homemade belt / disk sander:

I recommend drilling the hole through the back leg before rounding it. It makes laying out the marks to drill from both sides more accurate:
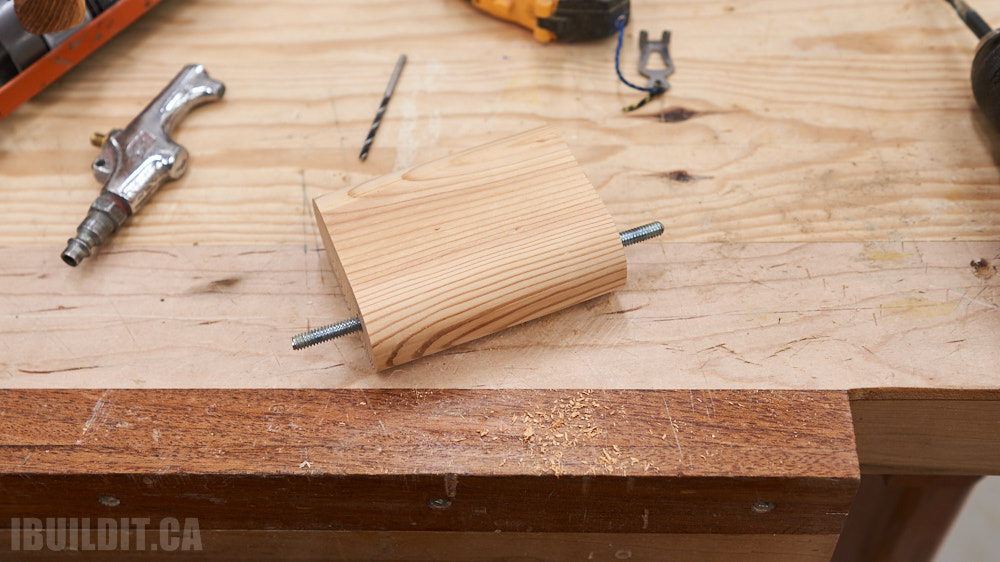
As shown in the video, I ended up drilling it out slightly larger to get the threaded rod to go through.
The sides need a 25 degree bevel on the front end and I used my precision miter sled to cut both at the same time:

That cut can also be done with a handsaw and refined with your still dull hand plane.
All of the parts cut, drilled and ready to put together:

Assembly
Much like the jig itself, assembly is easy. Glue the threaded rod inside the back leg and glue the sides to the blade holder:

I let it dry before drilling pilot holes and driving in screws to reinforce the joint:

Shown here are the guide lines that should be marked before assembly:
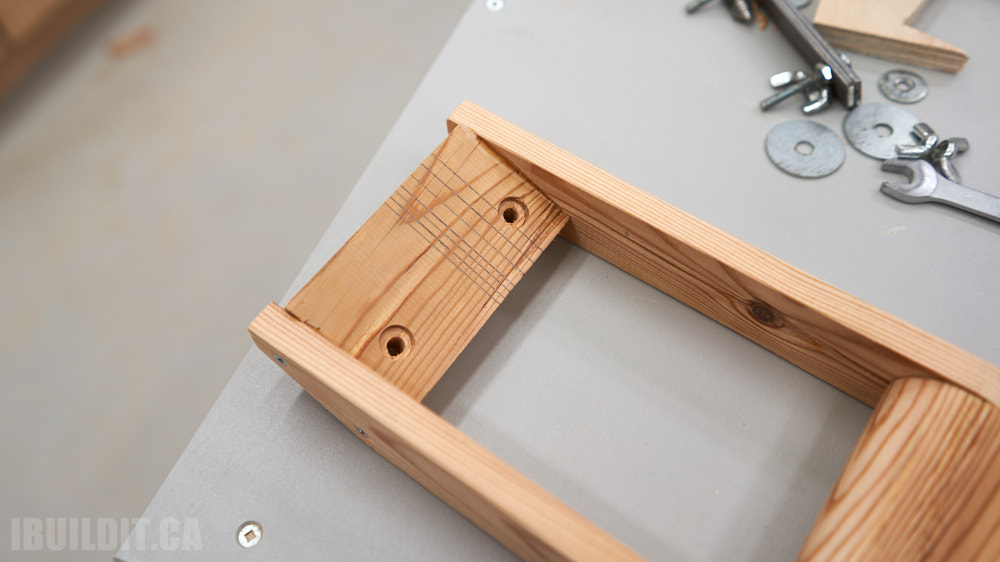
Also note the counterbores for clearance of the nuts on the clamping bar. Only needed if you will be sharpening thin plane blades (like the one on my low angle Stanley) but recommended all the same.
Always a good idea to give the project a coat of finish to protect it. I used a fast dry spray and put on two coats:

The recommended thickness for the clamp bar is 1/4″, but I didn’t have any on hand and used two layers of 1/8″ flat bar instead:

Aluminum can also be used.
Setup And Use
With a chisel loaded and lined up with one of the handy guide lines:

It should stick out about 1/2″ and then you adjust the back leg to set the angle:

I start on the primary bevel (25 degrees) on the coarse side of the stone:

Then switch to the fine side and increase the angle up 2 or 3 degrees to create the secondary bevel:

Final step for me (although you can take it as far as you want) is to strop it. I use a piece of spruce that’s been loaded with green honing compound:
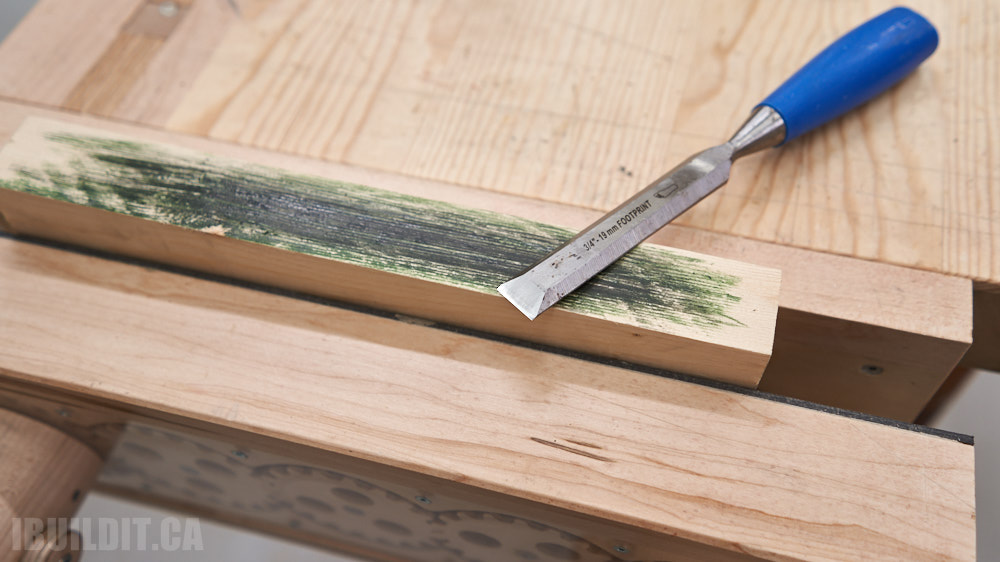
The video gives an example of how easily this cuts after just a few minutes of work.
Setup – Alternate Method
Since the blade holder on the jig is tilted at the correct 25 degree angle, to set it up all you need is a block that’s the right thickness (around 1-1/4″) underneath to set the jig on. You can then adjust the back leg down to the surface and the chisel to contact the stone:

The cover for my oil stone holder is handy to use since it’s the right thickness:

If you want to make one for yourself, plans are available:
Chisel and Plane Sharpening Jig
