Making A Powered Sub Woofer Fun & Interesting
When I built my new sound bar, it replaced my bigger speakers that had better bass response. And while the sound bar does have good bass, especially from such small drivers, I knew I would be building a powered sub woofer to go with it to fill in the low end.
Designing speakers is a very involved process and starts with picking out the driver unit (woofer) that best suits your needs. And this is not as simple as it sounds, since there are literally thousands available, each with specifications that differ enough to result in a wide variety of box sizes.
And that that’s how it should be, but it does make picking one for a particular design time consuming. They are typically not labeled with handy references like the suggested box size, but there are clues in the specifications to look for to narrow the search. Qts below 0.45 usually means the unit will work in a ported box, a smaller number for Vas usually means a smaller box will work.
I’ll admit that I didn’t look as exhaustively as I could have, but did find what I considered to be a very suitable candidate for a reasonable price, the Dayton Audio RSS210HO-4:

I use a spreadsheet called Unibox to design the speakers I make, and here’s a screenshot of what I settled on:

Chief goals were to have good low frequency output in a relatively small box. I worked that out to be 20 liters internal volume. Not looking for something that will vibrate the house off its foundation, just something to fill in the bottom end with authority.
I added some fill material (I use fiberglass insulation) to the calculations and that allowed me to reduce the box size below the standard design. Fill makes the “apparent” box volume larger, but isn’t traditionally used in a vented box. I’ve done tests with other builds and found that the addition of a small amount can make a subtle difference. The key is to not block the port opening with it, but otherwise it has no effect on the operation of the port. People often confuse sound with airflow, when they are two completely different mechanisms.
The box, after a couple of hours work in SketchUp, is 12″ x 15″ x 14″ internally:

At the bottom is the port, which is slot shaped to take up less space. It’s quite long, around 26″ and folds over inside that box at the bottom. Round pipe is usually used for ports, but I couldn’t find one that was close to the correct diameter (69mm or 2-3/4″) and that would be too much like plumbing, anyway.
I cut the parts for the inner box from 1/2″ particle board:

This is actually the cabinet from my table saw that I just replaced, going on to live again in another project.
Only one brace in the box that links the sides to the top:

To reduce the amount of internal volume it eats up, I cut the fancy looking holes in it. The holes do weaken it, but not enough to make it less effective.
The port box put together:

Looks complex, but not really. It’s open at the top just behind the front baffle inside and exits through the front at the bottom.
I said “inner box” because this will be built in two layers. Many retail sub woofers this size are made from a single 1/2″ layer, but I don’t consider that thick enough. Thinner sides vibrate too much and can act as speakers themselves, except not very good ones. Here’s the sides on with the brace in place:

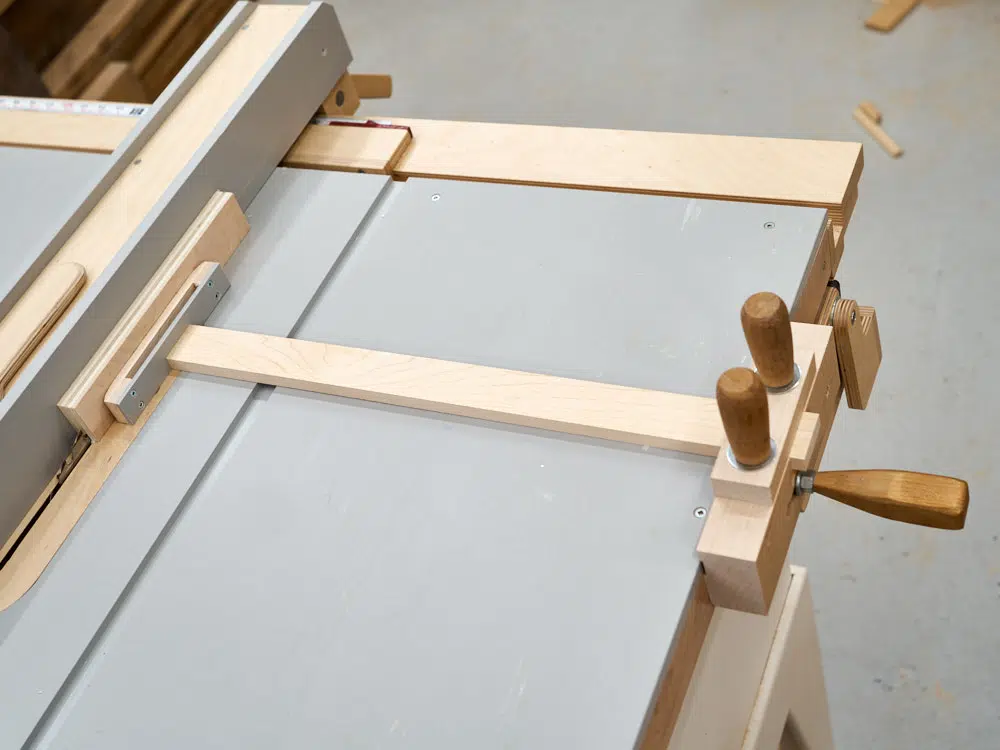
Putting my wooden bar clamps to good used:

I used polyurethane construction adhesive to glue together the inner box, since one side of the material I used was painted, and regular wood glue won’t stick to that.
The outer box is an MDF front with OSB for the rest:

The corners that show are tightly mitered and that was a challenge using a rough material like OSB. Why OSB? Well, I thought it would look neat and I already had part of a sheet left over from doing some work in my house.
The concept was to have the front painted high gloss black, with the OSB just clear coated for an interesting contrast. I sanded the OSB reasonably smooth (I wanted to retain some of the texture) and here’s the box with the speaker hole and port cut:

The outer panels are glued using a flexible adhesive, so there may be some slight constrained layer damping happening. CLD is where the inner box vibrates more than the outer layer because of the flexible glue used to link the layers. As with most things that aren’t directly related to the important aspects of the box design, the benefits this provides are probably too subtle to hear, but when combined with other improvements may result in a cleaner sound overall.
Since this is a powered sub woofer, I cut a hole on the back for the amplifier:

Normally I’d recess this like the speaker in the front, but it is on the back and won’t be seen. It’s not a pretty unit, so setting it in flush won’t help in the looks department.
Then it was out back to spray on multiple coats of black paint, sanding between each coat:

After letting that dry for a couple of days, I sanded that flat to get it ready for the final coats:

Unfortunately, being in a rush to finish the project to meet the deadline I’ve imposed upon myself, I kind of messed up the final finish. It doesn’t look terrible, but I definitely can do better and will, when I get the time.
In the meantime, it sounds really good – tight, punchy bass that extends all the way down and makes a huge difference when combined with the soundbar.