Making A Tenon Jig For The Table Saw Homemade Machines & Jigs
The great thing about making your own tools and jigs is the ability to either change them to fit a new situation, or build them over again when that’s not practical to modify or fix them anymore. Such is the case for my older tenon jig – it was made to fit the table saw fence I made several years ago and doesn’t work well with my new one.
Here it is soon after I finished it, back at my old workshop:
.jpg)
And in action on my original wooden table saw fence:

That was the first modification to use it for the raised panel doors project. I’ve used it several times since then, so it has proved its value.
On my newest table saw fence, it doesn’t clear the gadget I made to change the blade on my table saw:
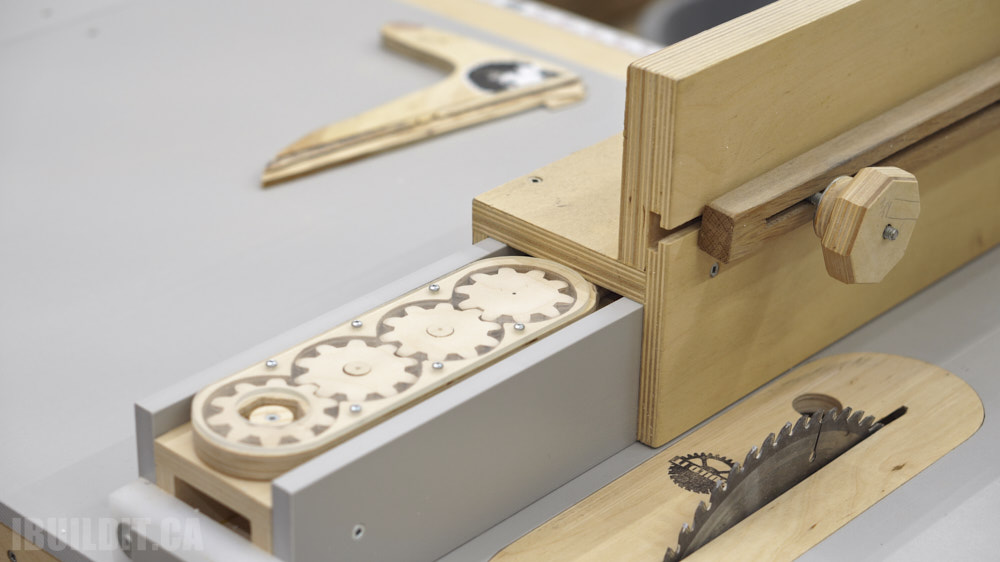
And while I could easily remove the gadget or add strips to bottom edges of the jig to lift it up, I decided I’d make a new and improved version of the jig and make a video for it as well. I also improved the plans and they are free to download:
Tenon Jig Plans
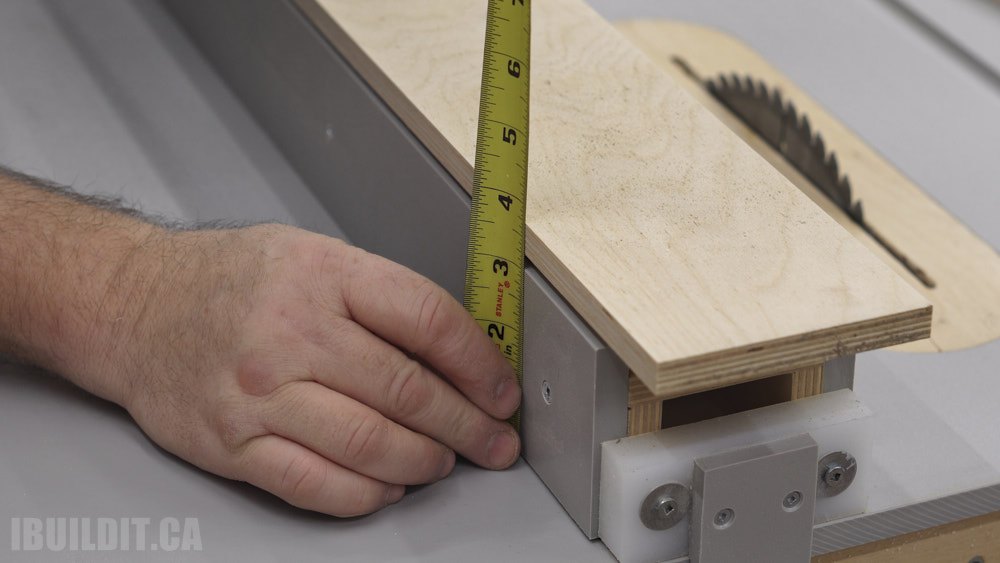
After cutting out the parts for the face, I measured the width of the fence to get the size for the top:

I can also measure how high the back needs to be with the top placed on the fence:
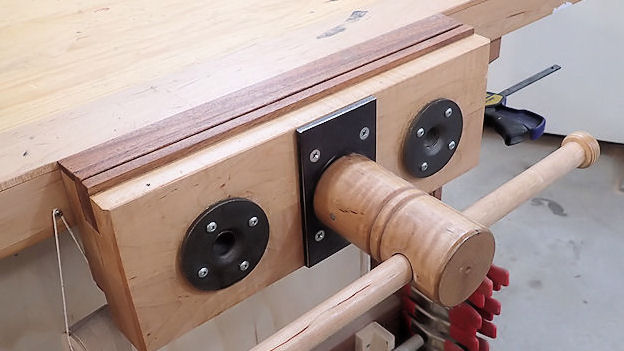
Assembly starts by fastening the back with screws only to the top. I have it clamped in my gear connected twin screw vise:

No glue because the width of the top may have to be adjusted for a perfect fit. Either adding shims or by trimming some off, the jig must slide smoothly without play.
The sub-face is then screwed on with the top and back clamped over the fence:

Again, no glue.
Mine was too tight so I had to shim it. And i did that with two layers of paper slipped in the joint and then re-tightening the screws:

You do that (or trim some off the top if it’s too loose) until the jig slides freely without play or binding.
The handles are next and those also act as braces to keep the jig square. I drilled a 1-3/4″ hole in mine for something to grip onto:

Then rounded the edges on my router table:

I used a piece of scrap plywood to hold the handles square and in the right place while driving the screws:

Once again I didn’t use glue, but you can since the jig should be a good fit by now.
Two handles is an improvement over the first jig. There will be a handle to hold onto if I turn it around to use it on the other side of the blade:

The second handle also adds more bracing to keep the jig square.
Now’s a great time to check the squareness of the jig. You can adjust this by trimming a small amount off of the bottom of the sub-face if it’s leaning back, or off the bottom of the back it it’s leaning forward:

At this point, that amount cut off should not be a lot. I had to trim about 1/32″ off of mine to correct the squareness.
Last step is to glue on the two outer face parts. You can see the slot for the toilet bolts:
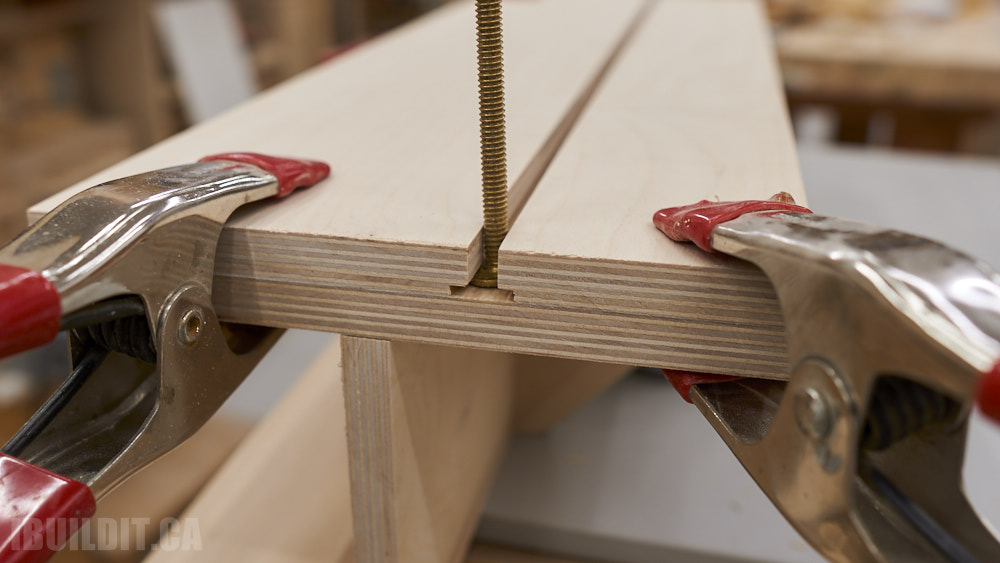
You’ll have to size the slots based on the ones you get, since there are a few different sizes and shapes for these bolts.
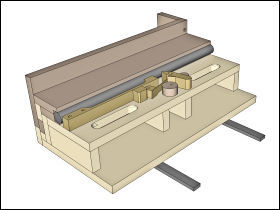
The clamping bar is made from five separate pieces and glued together to form the slots:

I used if for the first time to make the cheek cuts to form a tenon on the end of this piece of wood:


It’s also handy for cutting raised panels. Especially when the panels are small:
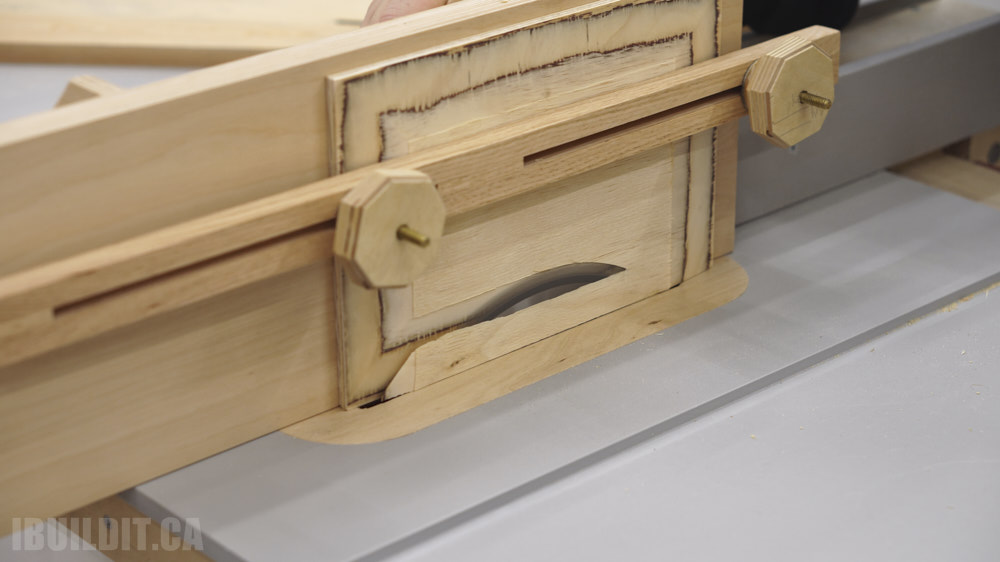
This is plywood, of course, but you get the idea.

Here’s the video that goes through the build from start to test cuts with the finished jig:
