


Making a Small Picture Frame From Spalted Wood General Woodworking
by Don Heisz

This is not really a very complicated project, but it is interesting in its own way. Several years ago, soon after I moved into my house, I noticed several old logs that had been thrown over the fence behind my yard. I could see shelf fungus was starting to grow on some of it, so I had the great idea to send one of my kids over the fence to fetch a log for me. When I got it, I split it in two and saw that it had attained a wonderful colouring and figure from sitting on the moist ground for several years. So, I set it aside in my (then clean) workshop.
A year or so later, I cut a piece out of it and jointed the faces. However, it was still not dry enough, so I set it aside.
I discovered, from the guy who used to live next door, that the wood was from a tree that had been planted by the original owner of my house when he and his wife moved in. The tree had grown quite large over the years and I guess they considered it a symbol of their enduring love for one another.
The guy cut down the tree, chopped it up, and tossed it over the fence the day his wife left him.
These things happen.
Anyway, it left me with some interesting wood I planned on using for a box. I may still do that, since I like boxes so much. I was, however, inspired a few days ago to make a picture frame out of the wood for a particular picture. I started by straightening the faces of the wood, since it had warped a bit since I jointed it. Then I cut it to a usable size.

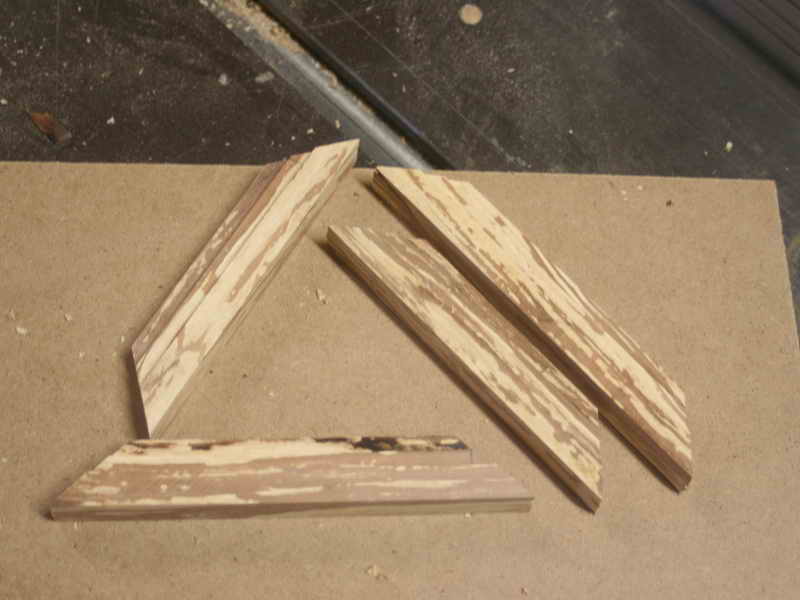
In this instance, a usable size is roughly half an inch thick. I just wanted to make sure I would get enough out of the piece to make the small frame I had in mind. I then cut those pieces a bit less than an inch wide. I got the four pieces below out of two of the three pieces above. Spare wood is always good.

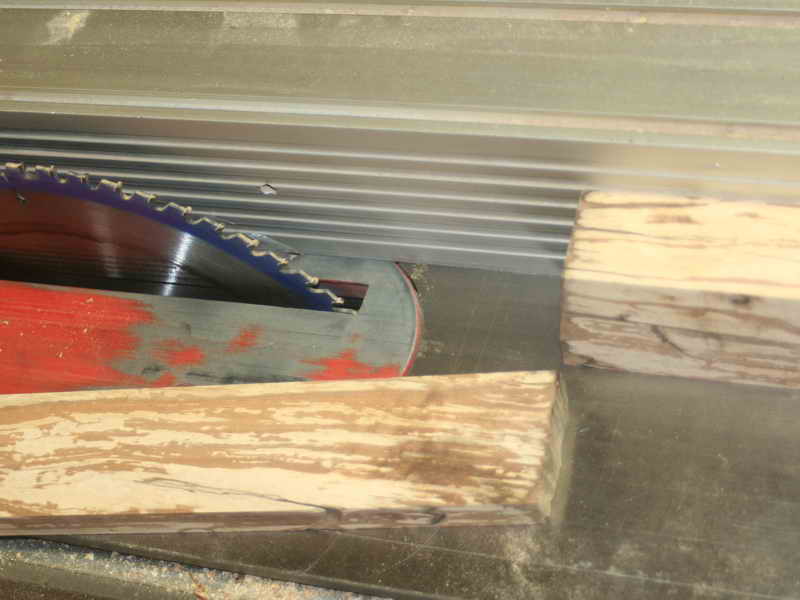
I then cut rabbets in the sides following the standard way I always make such frames, as some of you may know. One is for the glass, the other is for the back. I also had some luck cutting a piece of glass for this from glass I previously broke trying to cut.
Glass cutting can be a bit of an annoying task.


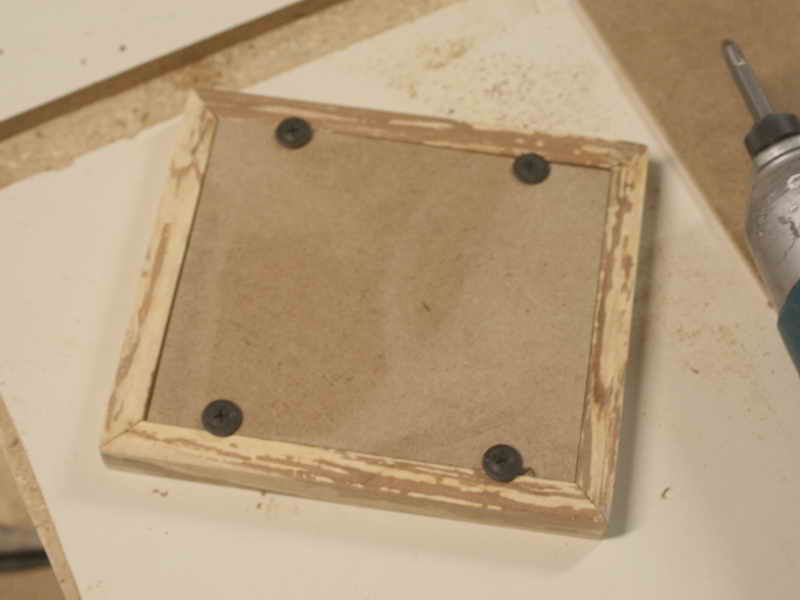
Once the profile is cut so the pieces can accept both glass and back, the sides are cut to length. This, I did on the miter saw. Like all tools, it’s important to regularly check that your miter saw is properly set up to make cuts like this. Mine tends to lose its adjustment too easily, so I always have to watch it. Anyway, after the sides are cut, I tape the corners together for assembly.

With the miters glued, I decided to tape around the frame to try to get the joints tight. It is a small frame and my clamps are a bit oversized for it. Anyway, once the glue set, I removed the tape and sanded the frame. It turned out well, in my opinion.


To attach the back, I used some half-inch screws that I ground a bit shorter. I pre-drilled holes, of course, and was careful to not force the screws in. This is where you could get some nasty splitting, if you’re not careful.
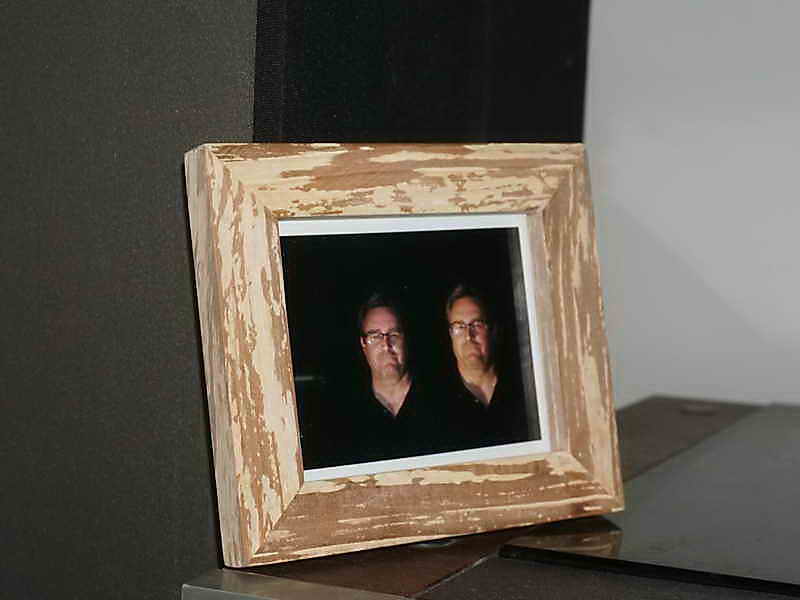
I made the frame specifically to hold this photo of John I took a few days ago. For those of you wondering how John can accomplish so much, this gives you an answer.
This frame is undoubtedly unique because of the wood, which used to be maple. It’s amazing what fungus can do to wood, not all of it is destructive. The wood is not what you would call soft. This frame also does not even have any finish. No oil, no stain, no urethane. Perhaps I should finish it with something to protect it a bit from the inevitable dust. But maybe it will age better without it.
I guess I’ll find out.


