Making A Band Saw Blade Sharpening Jig Homemade Machines & Jigs
This one was a spur of the moment thing just to see how well it would work, so I didn’t put a lot of time or effort into it. In spite of that, it worked great and I can’t see any reason to refine the design.
I guess it was Matthias Wandel that popularized sharpening band saw blades using a Dremel mototool, and this is an extension of that. The jig allows you to sharpen the blade without taking it off of the machine. Added to that, it holds the Dremel at the correct angle to give consistent results.
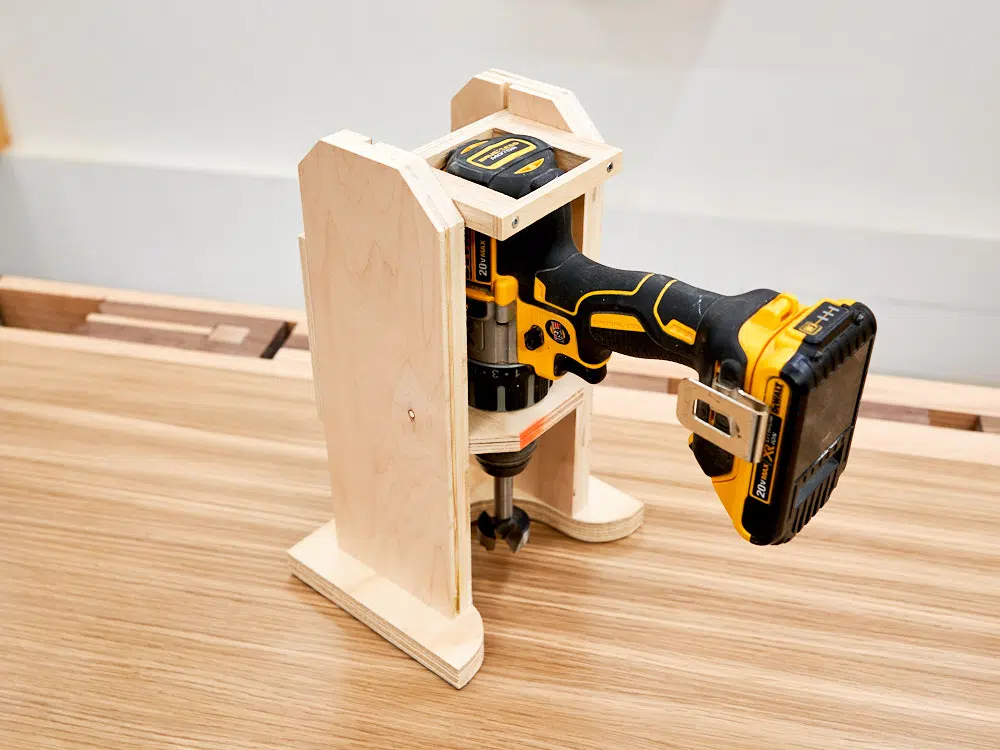
I started with a scrap of 2×8 that is about 9″ long. I held that vertical in front of the blade and lined up the Dremel so that the grinding wheel matched the tooth angle on the blade, more or less. Two blocks hold the mototool at that angle and a thin sheet metal strip clamps it firmly in place:
.jpg)
I added a base to the block using a piece of 1/2″ plywood. This allows the jig to stand up and slide easily back and forth:
.jpg)
.jpg)
With the basic jig made, I could fine tune the angle by loosening the screws and rotating the Dremel until it was exactly right:
.jpg)
.jpg)
The band saw fence was set to put the grinding wheel centred on the blade. The fence then acts as a guide for the jig to keep it square to the blade:
.jpg)
The results are impressive, it took roughly 10 minutes to sharpen a 120″ blade. Granted, there are only 3 teeth per inch, but you just need to briefly touch each tooth with the wheel to bring up to razor sharpness:
.jpg)
For a good starting point to make your own, I marked the dimensions of mine directly on the jig:
.jpg)
Of course, it can be changed to suit your size saw, but this should work for most. The 60 degree angle is approximate, since (as noted above) you will fine tune the angle after the Dremel is mounted in the jig.
Here’s a short video showing the jig in action:

The video shows the older version of the division plate being cut, but the same method works just as well for the newer version.