How To Make Triangular Gable Vents Home Improvement
I’ve been fixing up my garden shed to use for metal working projects and started by putting in an insulated ceiling with lights. This will help to keep the shed cooler on hot summer days (and warmer if I need to heat it during the winter), but traps a lot of heat inside the attic space. I looked for gable vents at my local home centre, but couldn’t find anything that was suitable. They were either too big for my purpose, or too small to provide enough air flow. So I decided I’d build my own and got started by going up and measuring the angle of the roof slope with my sliding t-bevel. I used that to draw a layout for the vents on the plywood top of my temporary table saw, and then cut out the parts for the outer frame:
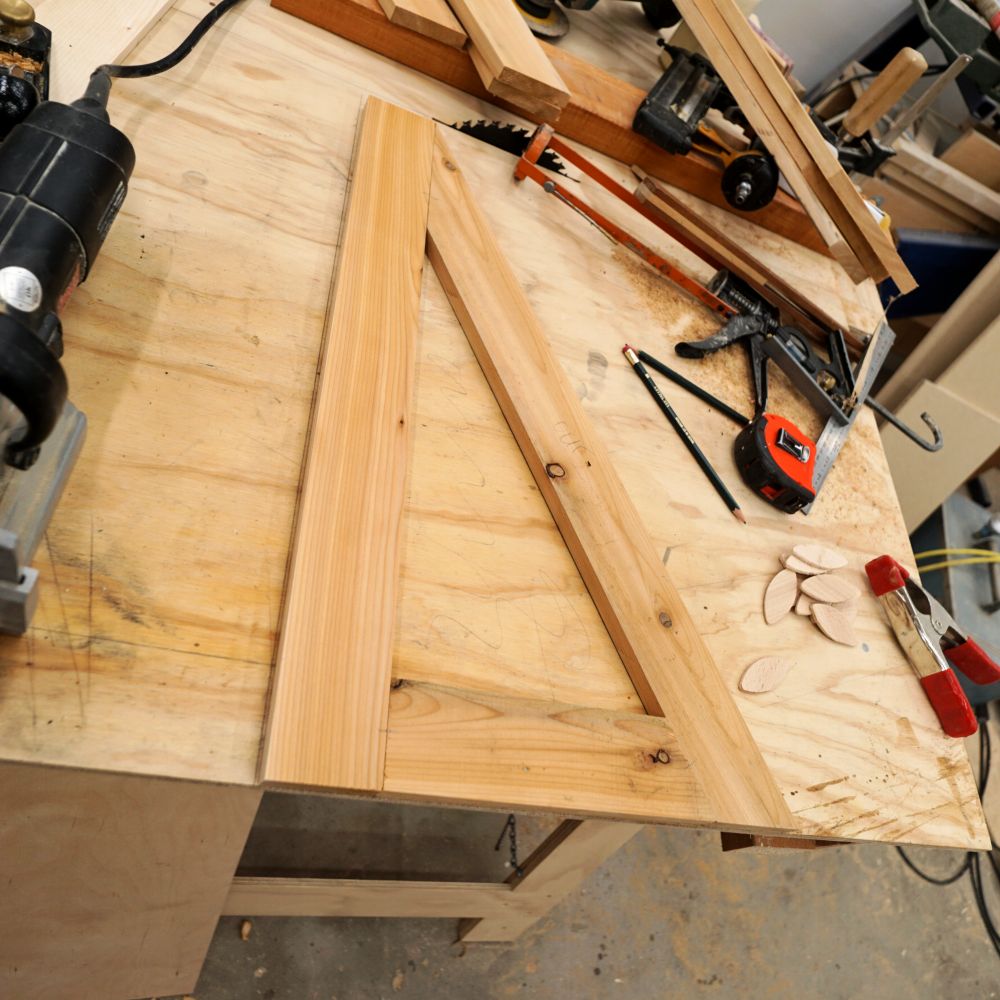
I used polyurethane construction adhesive and biscuits to assemble the four frames, then put them out in the warm sun to help set the glue faster:
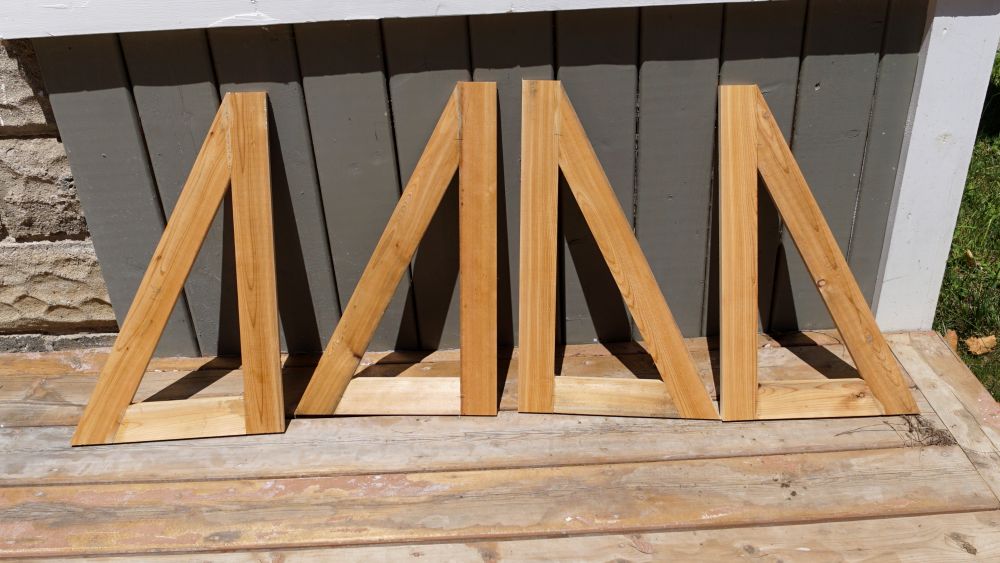
After about an hour the glue was hard enough to bring them back into the shop and sand them smooth.
I could then fasten the inner frame parts, starting with the top and side:

These are just square cut and attached with 1-3/4″ galvanized brads.
The bottom of the inner frame and the louvers all tilt up at 30 degrees to keep rain out, and I made those compound cuts using a simple jig on my band saw:

The video at the bottom of this page shows how I did this a bit better. I just held the part on the 30 degree edge and feed it through the cut.
And here’s how it fit:

The inner frame complete:

The rest of the louvers were cut to be evenly spaced and then fastened in place:
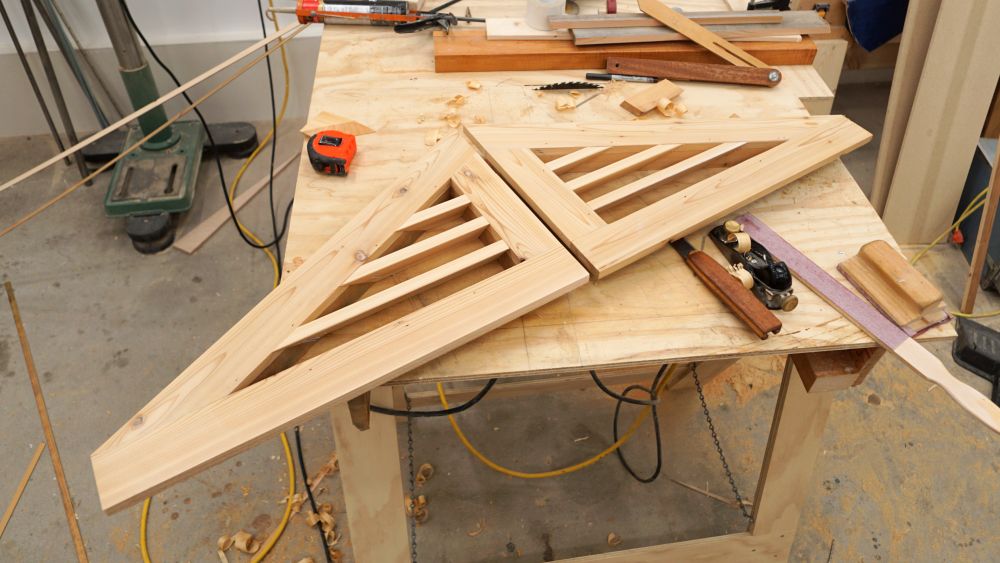
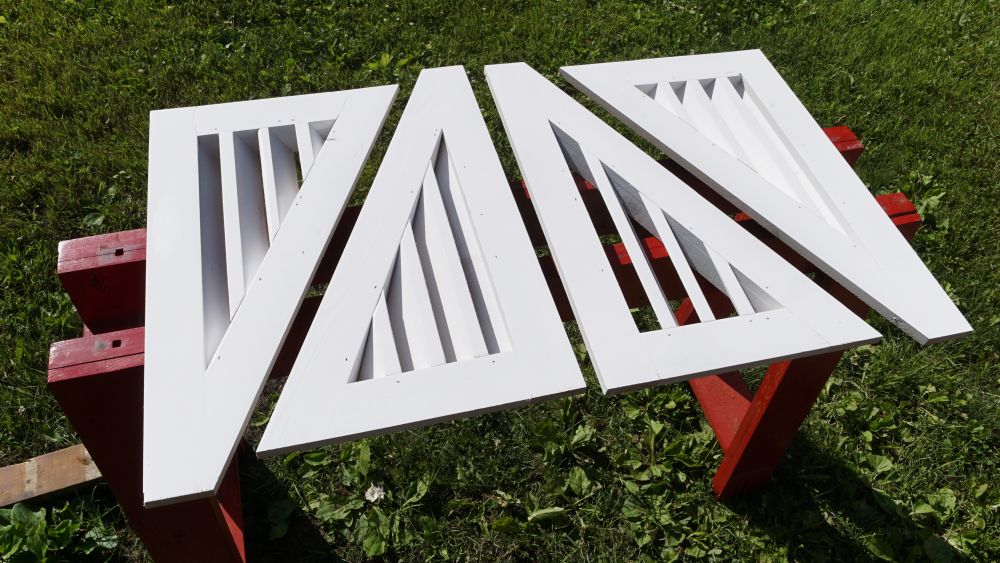
This is a matched set for one gable end. I need another set for the other gable.
When all four were assembled, I took them out and sprayed on a few coats of paint to finish them. Spraying takes a lot less time than painting with a brush for this, especially in around the louvers:
To keep the bugs out, I stapled on some metal window screen salvaged from the original windows in my house:

Metal is more rodent resistant than fiberglass screen. Mice, squirrels, chipmunks and bats all love a nice warm attic to nest in.
Time to get them installed, and I marked out the area to be cut for both vents:

Then cut them out with the jigsaw:

Here you can see why the vents have to be in two pieces – the end wall stud goes right up to the ridge board and can’t be cut out.
Finished and looking like they’ve always been there:
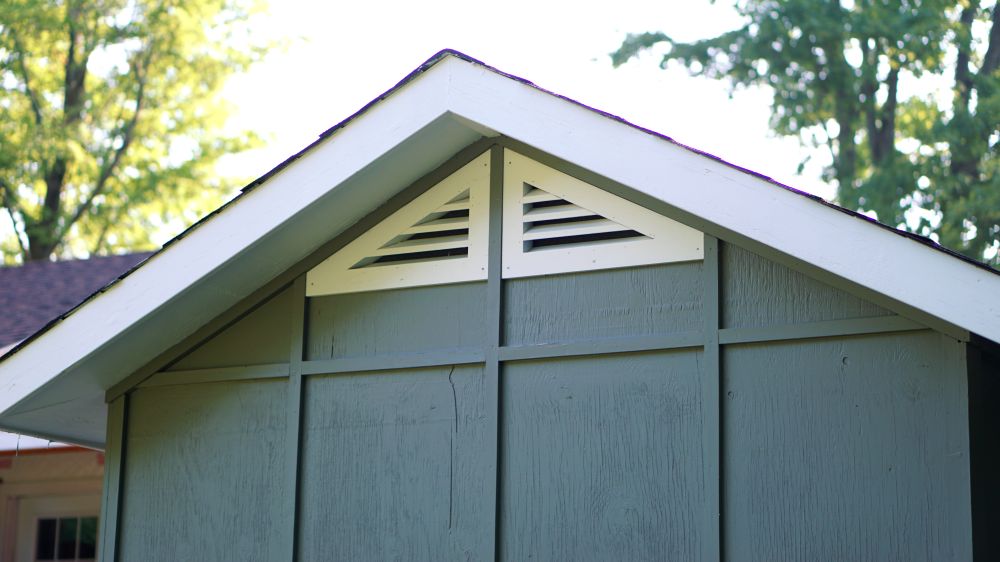
I may paint these to match the wall colour when I repaint the shed, but the white does look pretty sharp.
Here’s a video of the build and installation:

