Air Cleaner Move And Rebuild Workshop Projects
I need to take care of a few things before I finish the new cabinets in the front corner of my shop. The air cleaner that I made two years ago has to either be rebuilt in place to make it smaller, or moved to another location. To refresh your memory, here’s the original build video for that unit:
I didn’t film the rebuild, but I did make an exclusive video showing what I did leading up to it and trying to decide the best approach:
The first was to dive in and take out the cabinets above the miter saw station:

The long cabinet that was up there was another older project that has already been moved and was less than ideal.
The first thing to move is the blower itself and I did film a change I made to this in the video above. Basically, I just added to the housing to improve the efficiency:

It’s hung on springs to reduce vibration and I’m reusing the brackets.
Since I need to build a new plenum, I decided to increase the size of the filters to 20″ x 25″. I bought a box of four at Habitat for Humanity more than a year ago for less than the price of one.

I used maple veneer plywood to match the miter saw station, and recycled plywood from the original and the long cabinet I took down.
Installed and connected to the blower, the switch on the front powers it on:
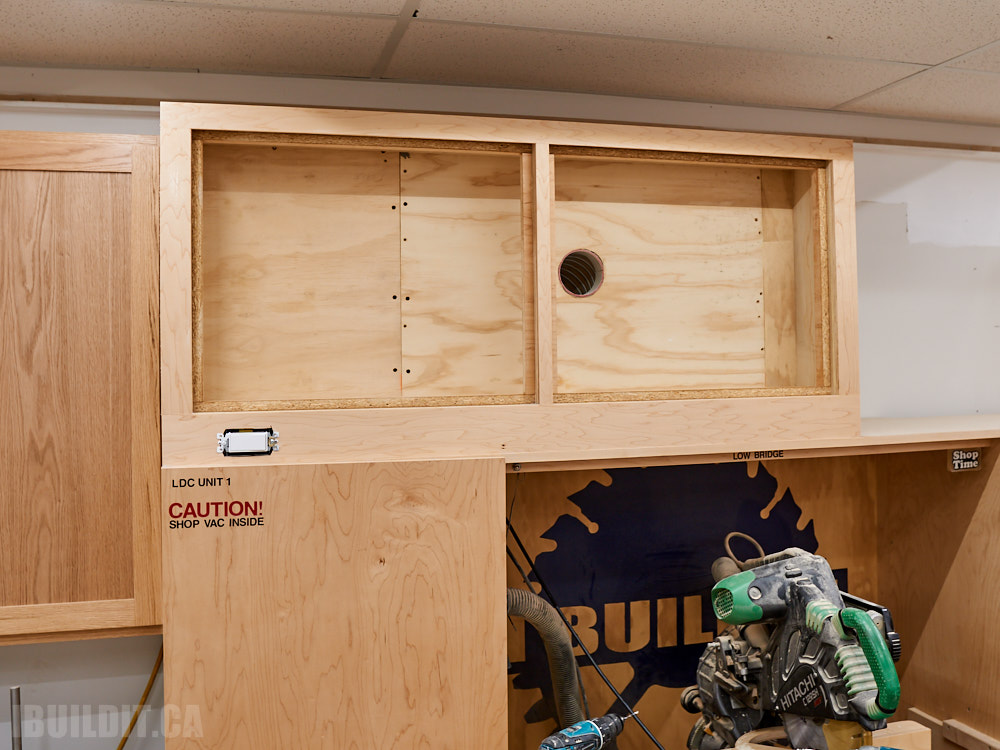
The extra filter area and the move closer to where the dust is created should mean better overall efficiency. It’s also more convenient to quickly turn it on before a cutting session, since it’s much closer.

Patch and Make Good
I thought it might be interesting to show what I did to close in this end:

The end grain of the top panel on the miter saw station is showing and it’s also a bit beat up where the old cabinet was fastened. Even though this is a workshop and it would be perfectly fine to just put a filler panel in and call it done, I took it a bit farther.
I cut the filler panel first with a rabbet on the bottom:

That rabbet will cover the end of the plywood panel on the miter saw station and I’m using a sharp chisel to remove enough for it to fit flush:

It doesn’t have to be pretty, just deep enough:

With the filler panel in place to see how it looks:

Iron on veneer covers the end grain on the air cleaner plenum and extends down onto the miter saw station:

Installed and finished:

These are the types of repairs I’d often have to do when installing cabinets in schools, back when I was doing that for a living. Often older cabinets would either have to be reused and made to fit somewhere else, or new cabinets modified on site to fit. Either way, it’s handy to be able to quickly determine the best solution and carry it out.
The Cubbies
A fairly large gap remains with the air cleaner on one side:
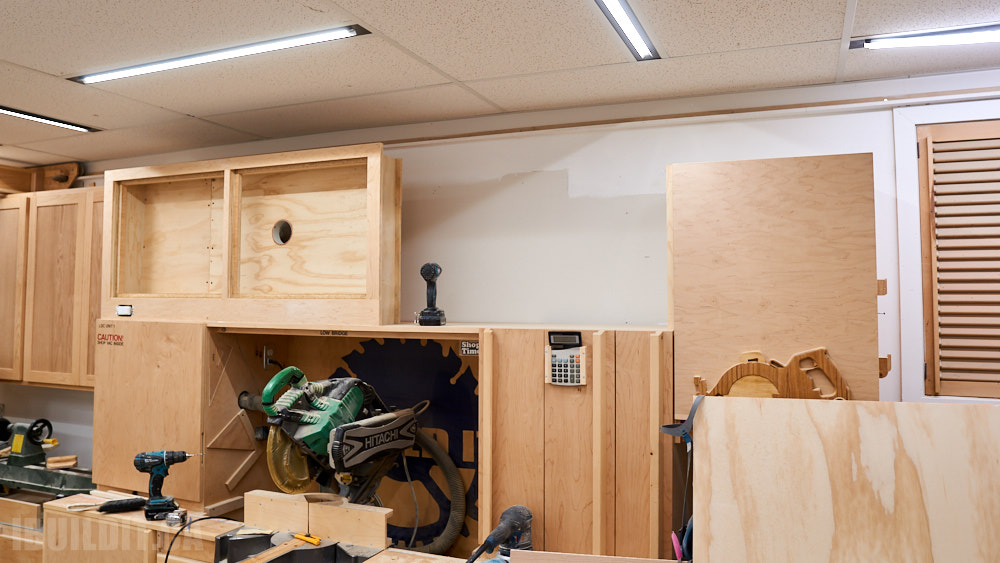
I figured the best thing to put there would be a new series of power tool cubbies. Among my future projects is a rebuild of my tool board and in doing so, I’ll be removing the old cubbies above it.
Here’s a neat trick for cutting dadoes that are spaced evenly:

The strip of plywood laying flat was cut to the right width to space the router over, and it’s up against another strip that’s in the first slot that I cut.
I’m starting from what will be the top and working my way down. The openings are 5″ x 9″ and 10″ x 9″ and the unit is 12″ deep:

Having the heavier tools lower made sense to me, so I made the middle three openings larger:

And while the cubbies idea might seem like a waste of time (since plain shelves would work instead), it does help to keep the tools separate and easier to take down and put back. Cords don’t get tangled with each other, and you aren’t trying to hold one tool on the shelf while pulling out another.
And here it is installed:

That’s a major improvement, I think.

