Finding The Center Homemade Machines & Jigs
by Don Heisz
Don Heisz is the author of Offcuts, a weekly article on the lighter side of woodworking.
I have been working on a new cabinet for my kitchen. After several weeks of only being able to do a little bit at a time, I am finally at the point where I can start putting drawer-pulls on. Of course, I would like the pulls to be properly centered. I have about ten measuring tapes hiding in various locations but I find that you can sometimes be off just the slightest amount, which is just enough to bother me. So, I started to get interested in the possibility of making a center-finder. So, more just to see how it should be made, instead of making a very refined one, I quickly set to work.
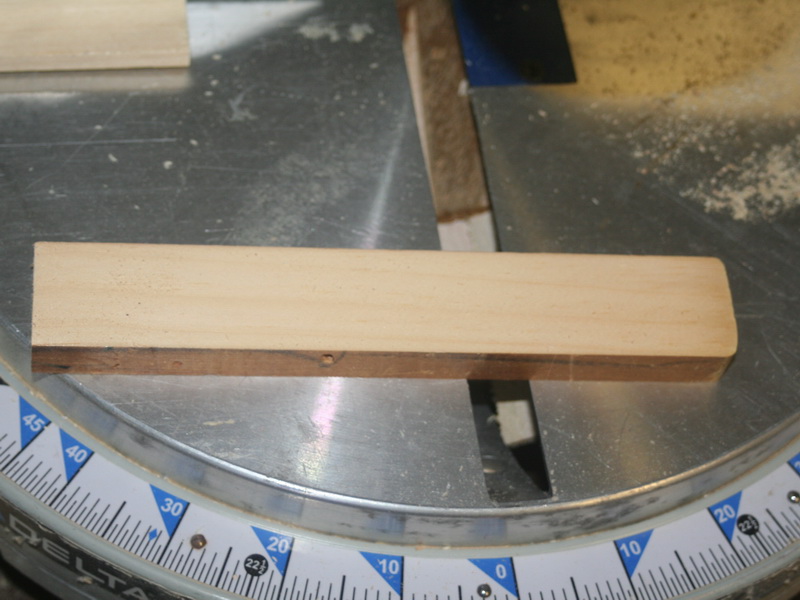
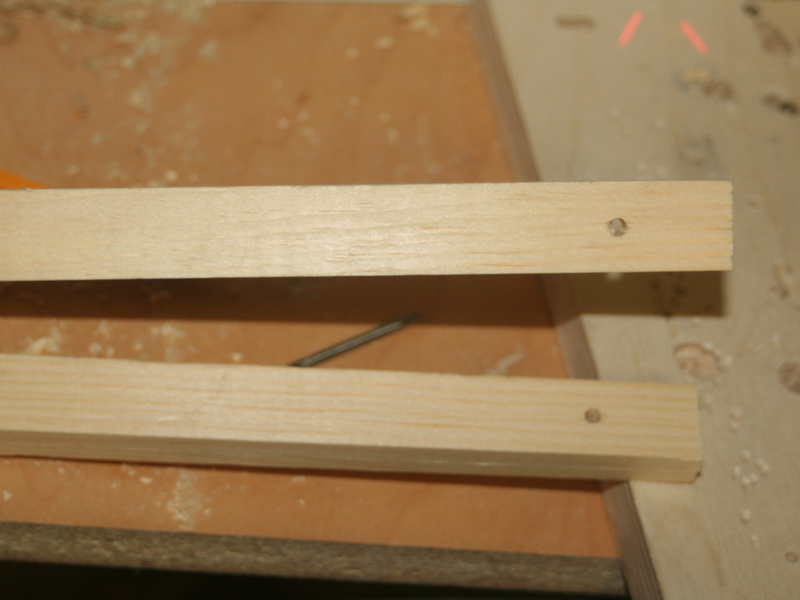
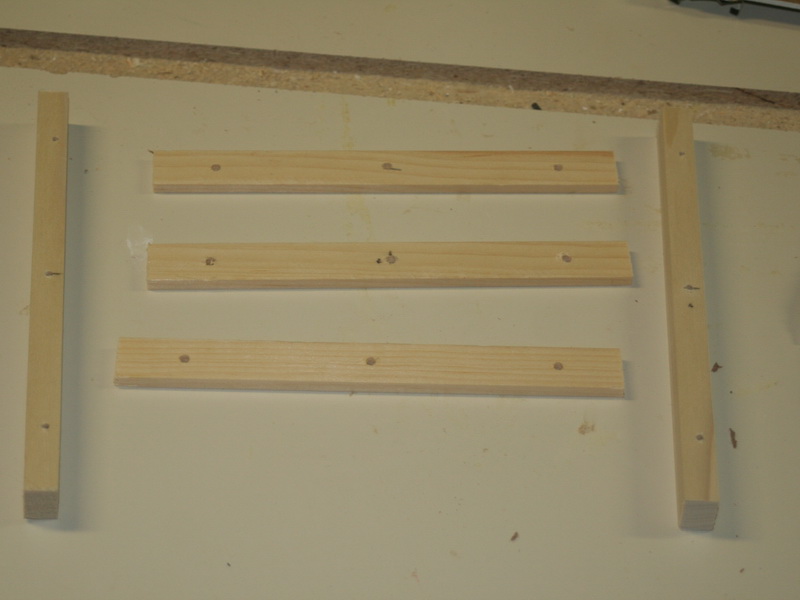
I began by cutting three pieces of wood exactly the same length:

I find the best way to ensure three pieces of wood are the same is to stack them up and cut them all together. I was interested in making a kind of shifting parallelogram. Complex math and many hours later proves that such a thing works. I didn’t do any of that, if you’re wondering. This thing I’m making is something I’ve seen before. And it makes sense.
Anyway, I needed to find the middle of those peices of wood. They were 3/4 of an inch wide, so 3/8 is the center. Instead of measuring, though, I made another centering jig. I started by cutting another piece of wood I found on the floor. Then I made three marks, equally spaced from one another.
I more or less guessed at the centre of that piece of wood and drilled all three holes.

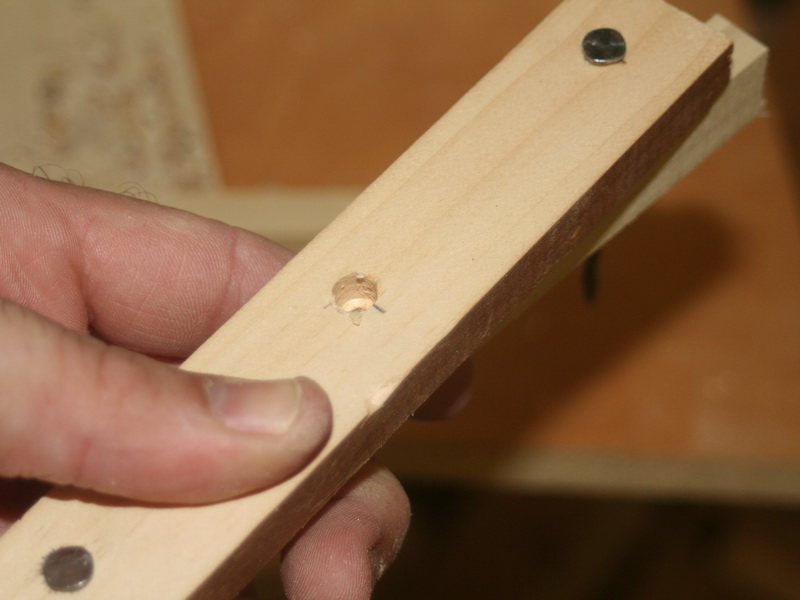
This is an old design, probably as old as wood. You space these holes the same, make sure they’re in a line, push dowels in the outer ones, and the middle one will be the center of whatever board you put it on. Mine was going to be small for my 3/4″ pieces. As you can see below, I enlarged the middle hole slightly so I could get my pencil in there. Frankly, the hole is a little too big.
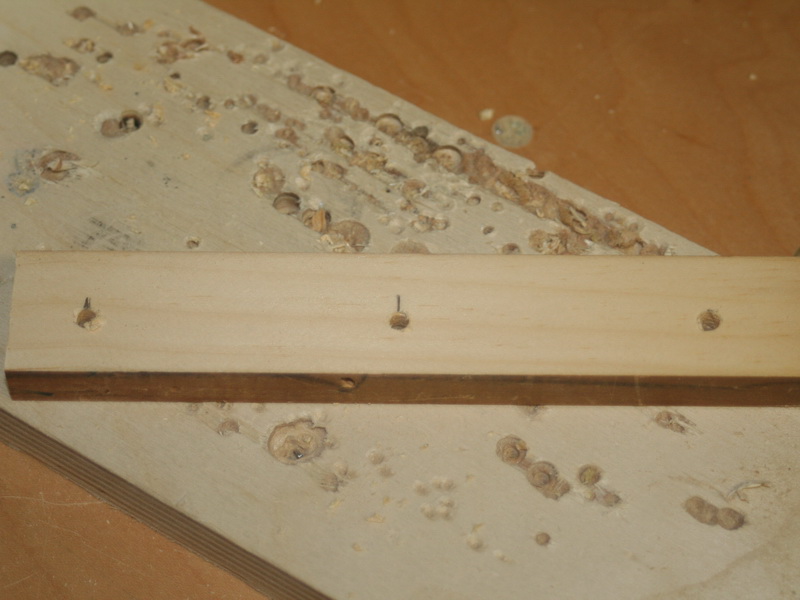

So, I stuck a couple of nails through the outer holes and placed it on my 3/4 inch pieces to mark the centre. I drilled the holes thinking I had common nails but found I only had spiral. Unfortunately, it was a little sloppy. But you get the idea of how it works.

The nails (or dowels in a properly made one) straddle the piece of wood and the center hole will then be the center of the piece. You mark it and be proud of your accomplishment.

With the center of one piece marked, you can set your drill press fence in the proper position and install a stop block for consistent results. As you can see, the center-finding jig I just used makes a great stop block, if you take the nails out.

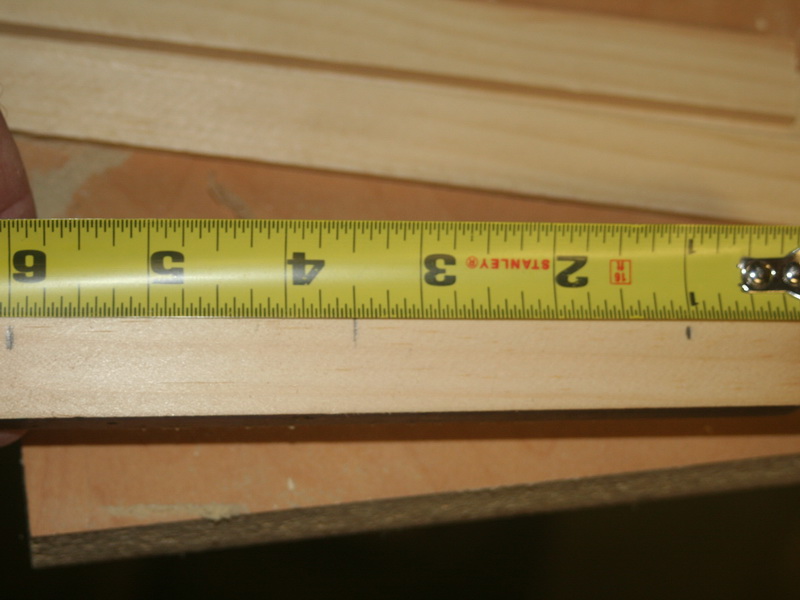
Here you can see one of the annoying things about deciding to do something without proper planning. I needed to find the middle of my pieces of wood, but cut them an odd length. So, I had to divide the length by two, round down, measure over from one end, then measure back fron the other end to make the mark closer. If I’d bothered to measure prior to drilling the holes, it would not have been a problem. But I didn’t.

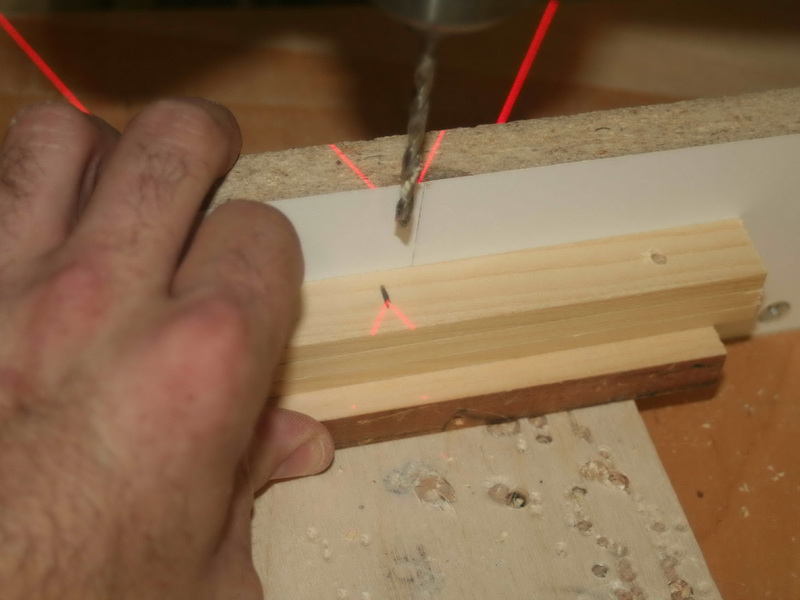
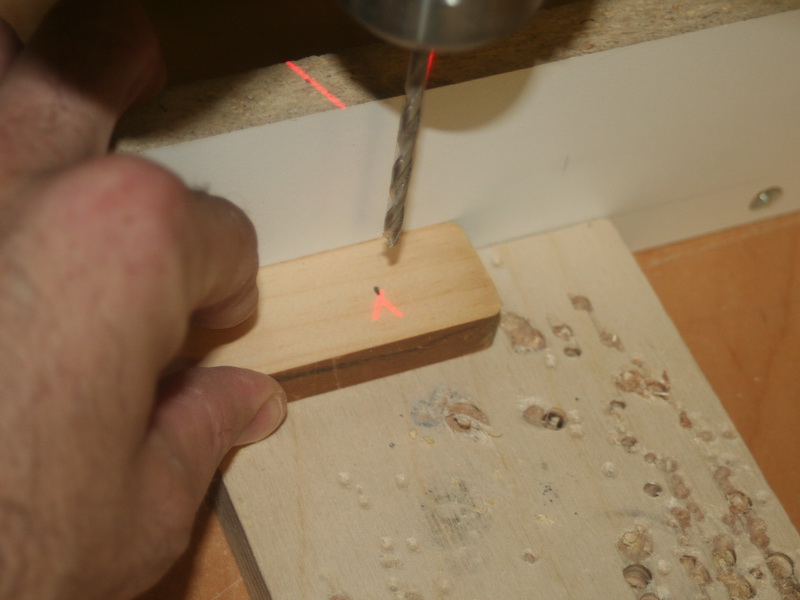
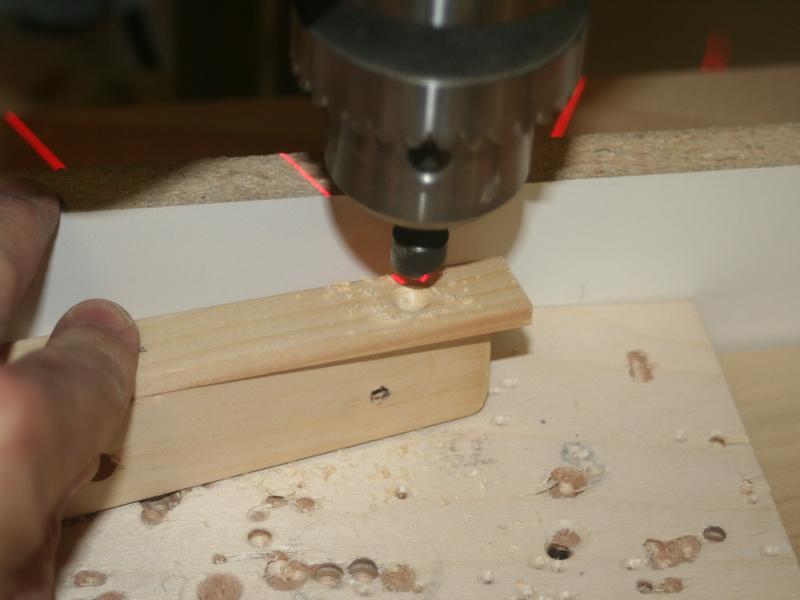
Then I could drill through the middle of the piece. I actually only needed to drill one, and drilled all three without thinking. You can see other center-finding jig does a good job propping up the pieces so I can see the laser crosshairs. At least I know where it is.
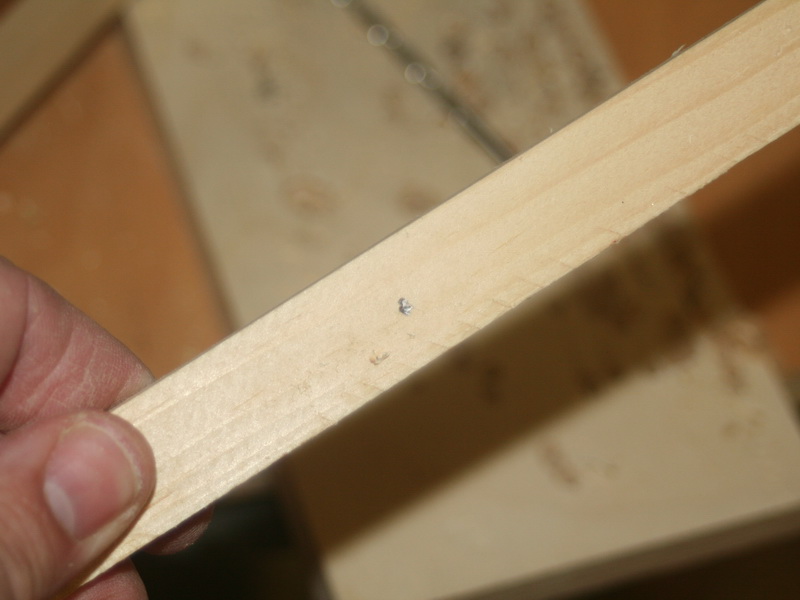
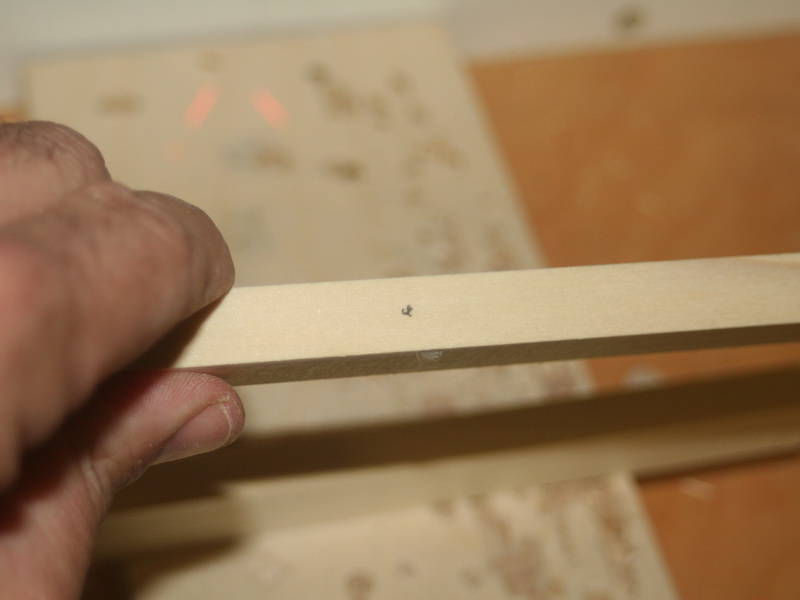
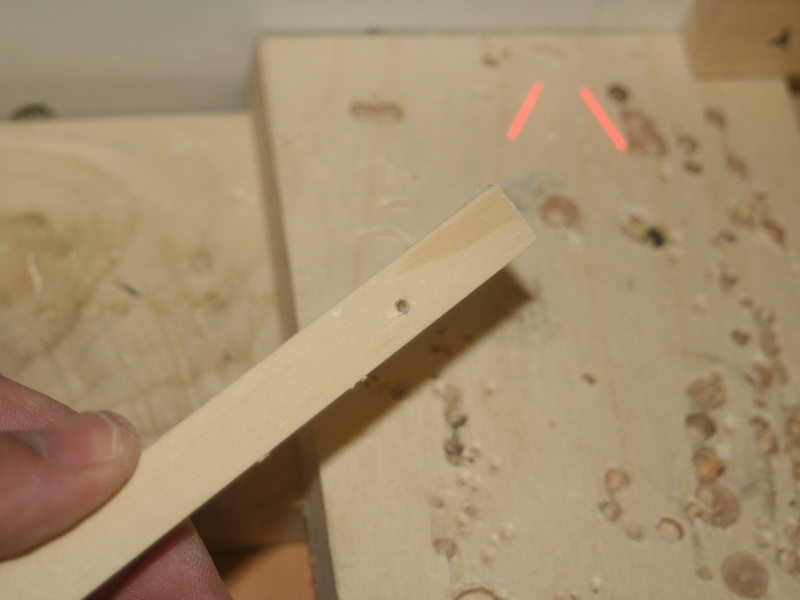
Then it is time to cut the side pieces. These, I made certain to cut to a reasonable length, no need to try to split a 1/16th of an inch. Anyway, I found my nails and used the center-finding jig to mark the center of those pieces.

As you can see, my jig marked the center well enough. Unfortunately, I did a lousy job setting the drill-press fence, so I was a little off. That should be ok, but you need to make certain the finished jig is symmetrical. In this instance, flip one of these piece over. Or, better yet, cut new pieces and do it over.
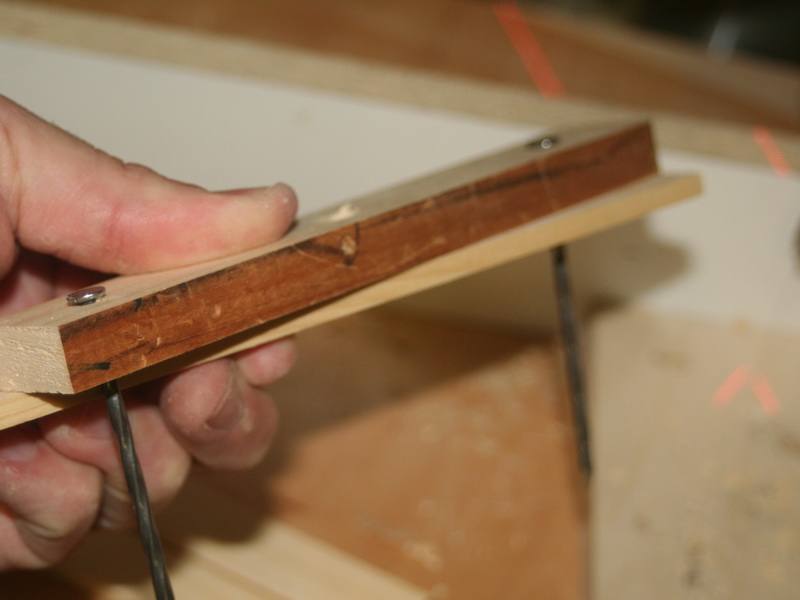
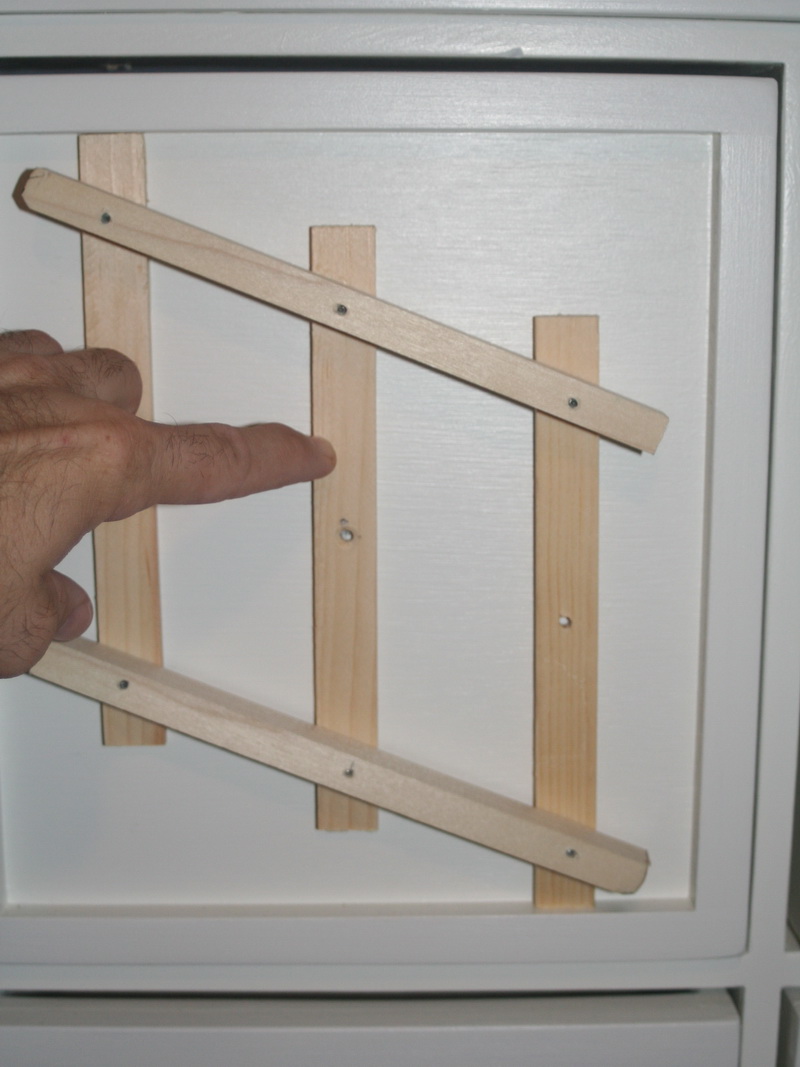
So, then it can be assembled. Now you can see what it’s supposed to look like.

I initially started to assemble it without countersinking the holes but decided it would be best to have the screws flush. My all-purpose center-finding jig #1 helps to prop up the pieces for counter-sinking, since the bit is so short. I could have done that in a hand drill …. but I can’t actually find one that works in my workshop.

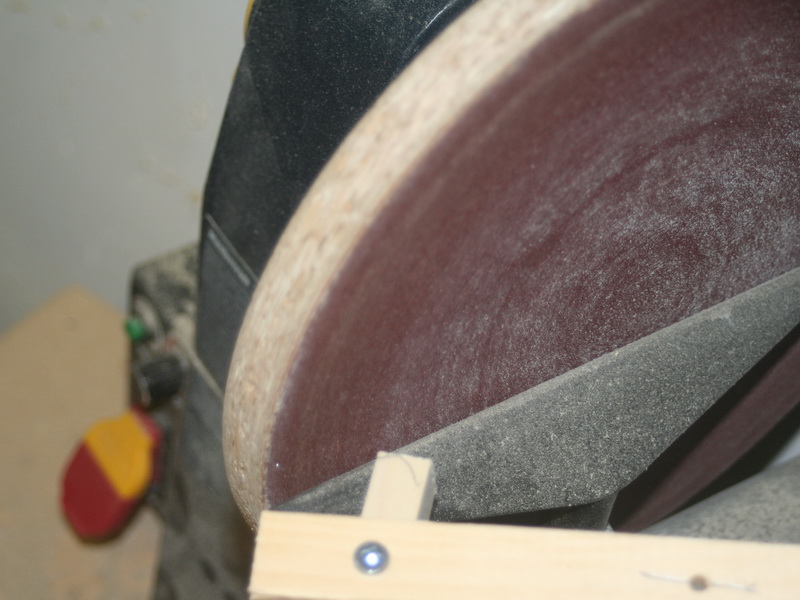
I then discovered another problem, when the jig is fully crushed togethether, the sides get in the way of being able to line it up. That made me realize that I should have made the horizontal pieces wider and set the vertical pieces farther in from the end. Oh well, next time. Anyway, I rounded over the ends of the sides on my mini-lathe-mounted-sanding-disk. (The only use I can find for my economy-grade mini-lathe.)

I put masking tape over the screws so they would not mark the surface of what I was marking and then tried it out. You can see, the end of the top horizontal goes to the right, the other end of the bottom horizontal goes to the left, and the center can be marked in the middle. Another advantage of making the horizontal pieces wider would be to be more certain you were squarely lined up. If you’re not square to the sides of what you’re marking, your mark will not be accurate.
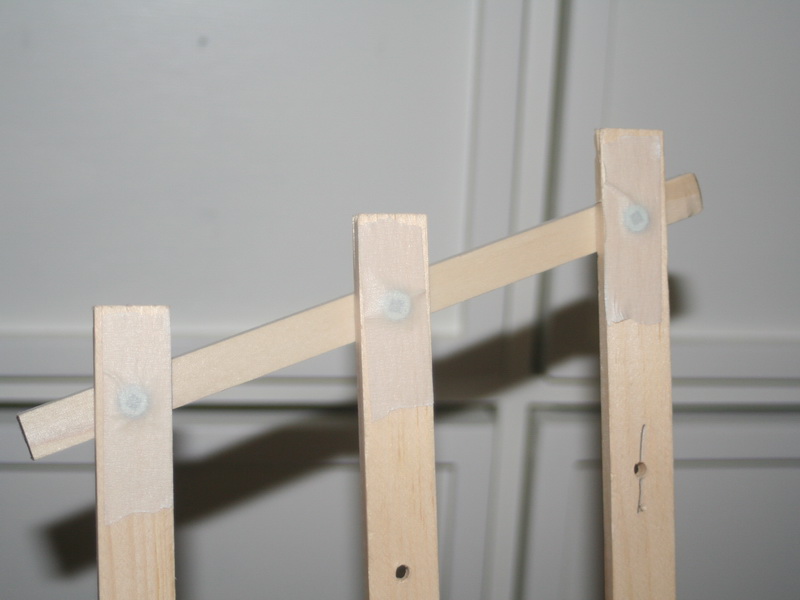

Rotate and reposition to make a mark from top to bottom. This device can be any size. This small is almost completely useless. But I successfully marked my nine drawers with it. If you drilled holes in the middle horizontal for a pull instead of a knob, it would mark that as well. But I’m using knobs.
So that was fun and successful. I would recommend being a little more precise in your manufacture of this thing, it could use some refinement. But for a single-purpose device, it didn’t take much time.
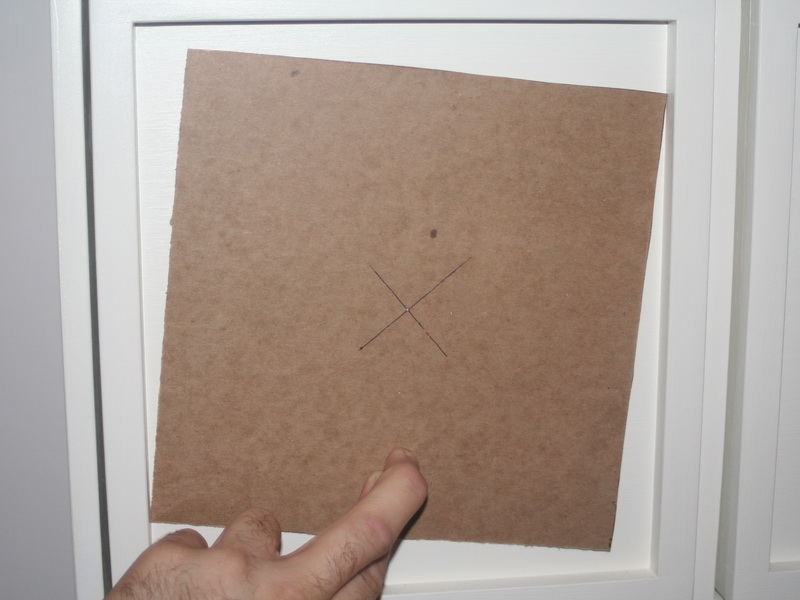
Sometime later, it occurred to me that I could have done something very similar but much simpler. I took a frozen pizza box out of the recycling bin and quickly cut out a rectange that was samller than the inside of my drawer-front frame. I then marked the center by drawing diagonals on the cardboard square and poked a hole through it. You place that inside the frame and rotate until the opposite corners touch the sides of the frame and …. there’s the center.
I always think of these things too late.