How To Make A Woodworking Mallet Homemade Woodworking Tools
It’s probably close to 10 years ago that I made the mallet I currently have. It’s showing its history with a number of dents and dings from using it over the years, but still going strong. If I have one complaint, it would be that it’s a bit bigger than ideal for general tasks around the workshop. So I thought it was high time to make a new one that’s just a bit smaller.
Here’s the head of the new one next to it. I’m using a piece of the spalted maple from the tree that was cut down in my yard a few tears ago:

Around 20% smaller, it’s 2″ thick and 3″ high and 4-1/2″ long with the top slightly rounded like the old one. The faces are also angled at 2 degrees off 90 on the miter saw.
“… but this is woodworking after all – you love it and might need the practice! “
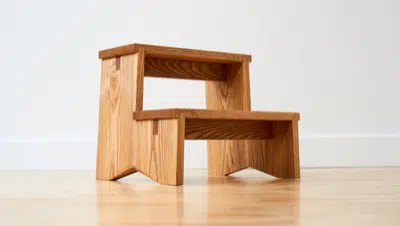
The handle is a scrap piece of the ash I used on my step stool build, already planed down to 3/4″ thick. I cut it to a rough width of 1-1/2″:

Like the original, the handle will be tapered and wedge into a tapered mortise in the head. I think that’s the best way to make a mallet, since it can be done all in one session without waiting for glue to dry.
Of course that also means you need to layout and cut a tapered mortise, but this is woodworking after all – you love it and might need the practice!

I drilled mine out with a 5/8″ forstner bit to remove the bulk of the material. Another option (if you have one) is to use a square chisel mortising machine with the head set on an angle. I don’t do enough mortises to justify owning one of those machines.
Become a Patron!Then clamped it my quick release vise to chop out the rest with a sharp 1/2″ chisel:

You can be pretty rough with this mortise, especially on the inside. The main thing is the handle wedges in there and won’t come loose from normal usage.
I sanded off the pencil marks to check how clean the edge of the hole is. This is the top of the mallet:

Again, the hole doesn’t need to be perfect. But like I said above, it is the chance to fine tune your skills.
I used my homemade card scraper on the sides of the head to smooth them out and clean them up. Mostly because people like to see hand tools in action. I’d normally just sand it on the belt sander:

I got fancy with the edges on the faces with these tapered chamfers:

But it does serve a definite purpose. Having the corners beveled like that will help to keep it from chipping off. And it looks neat, so there’s that.
With the handle snugly tapped in and next to the old one:

I really like the string wrap grip improvement on the old one and may do it on the new one as well.
I’m using a tung oil blend as a finish. Brush it on, let it sink in and wipe off the excess. The original was coated with oil based polyurethane and that has held up great, but I don’t use that anymore:

Finished and next to big brother:

Normally you’d want to avoid using spalted maple to make a striking tool, since spalting indicates an amount of rot. But this is sugar maple and already rock hard and still very solid. I expect it will easily last as long as the old one.

Here’s a video showing every step in the build:

In it, I mention that I’ll be joining the Maker Mob where I’ll be posting detailed build tutorials along with the other very talented craftsmen already on there. And as a way to show you what it all about, you can sign up for a 6 free plans package and see if you’ll be interested.
I’ll still be putting out high quality build videos on YouTube, but if you want to go deeper with more detail and a better overall experience, I recommend checking it out. It’s also a great way to support the work I do to provide all of the free content I make.