Skyline Diffuser / Wall Art General Woodworking
Tastes can change over time, as do needs. When I started building the project that these blocks were made for – a big, thick, Gothic looking butcher block table for my kitchen – that’s exactly what I wanted. But as the four years that passed between starting it and today wound down, the appeal of that particular look has faded as well.
Instead, I would like something much different – more modern looking and bigger, with storage underneath, since my kitchen as built is larger than I initially envisioned.
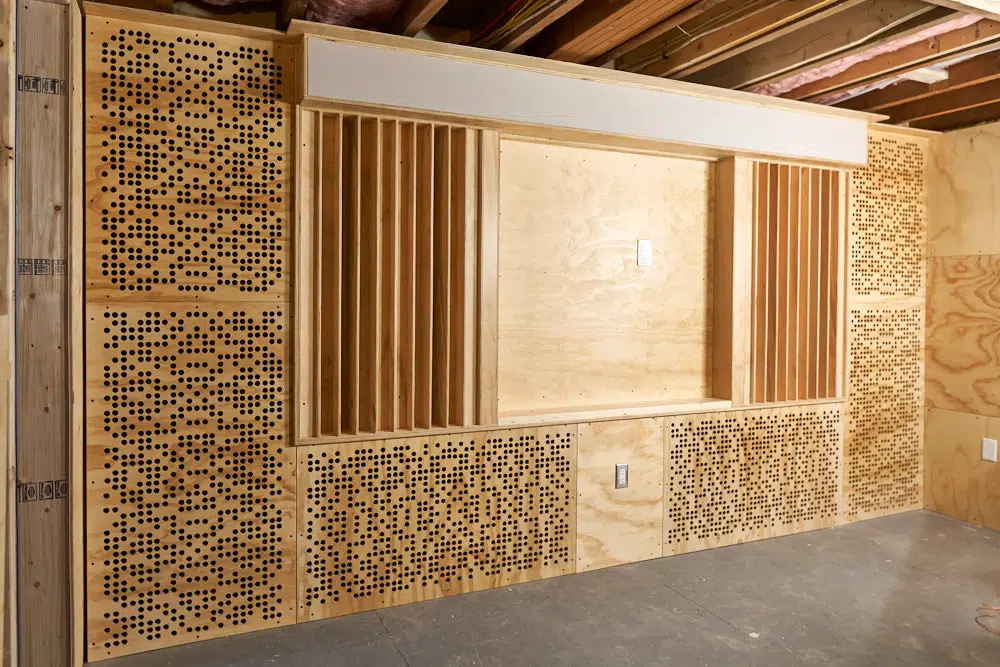
So, what to do with the parts? Roughly 120 – 2x4x10″ blocks cut out from the old wall studs removed from the house during the renovation. I considered a few different things, but was limited by the length of the parts. Since I had just finished the desk for my new office, I thought an excellent way to cut my losses on these was to build what’s known as a skyline diffuser. These are primarily made to act as sound treatment (to reduce reverberation in a room), but besides that (and more important in my view) is that they look exceedingly cool.
I had to move the blocks several times during the renovation of my house, and each time i cursed making them in the the first place. The last resting place was stacked up on my shelving in the basement, where they’ve been for nearly a year:
.jpg)
The first step was to cut the blocks into pieces that were exactly 1-1/2″ square. Getting them exactly the same size was important, since it won’t go together properly if there’s variation in the thickness.
I sanded them thoroughly with my belt sander and my random orbit sander after they were cut to size. Again, I needed to be careful not to sand them unevenly, or that would mess up the fit.
When they were all smooth on the sides, I cut them down into three lengths – 6″, 4″ and 2″. Then more sanding, the ends of each block that faces outwards:
.jpg)
That’s what defines this project – the hours of sanding. When you look at the finished result, it’s tempting to say it would be a snap and only take a few hours to build. Wrong! Not if you actually want it to be smooth and look good, that is..
Assembly next, and I set up my folding saw horses in my shop and placed a door on top. The door is strong and lightweight, and will stay flat. I also covered that with a piece of drywall, just in case any glue squeezed out.
Basically, I had to lay the blocks out in a random pattern, but try to use the same number of each size
in each row:
.jpg)
I used polyurethane construction adhesive to glue the blocks to each other in an end grain cutting board style, rather than gluing them down to a plywood backer. Using a backer would likely be a mistake for one this big, due to seasonal expansion / contraction of the solid wood blocks. That movement could make the assembly change from flat to cupped.
It took the better part of a full day and nearly a full tube of construction adhesive to put this together. I left it to dry overnight, then flipped it over and routed the slot for the French cleat that would mount it on the wall:
.jpg)
I cut the top of the slot with a dovetail bit to create an angle for the cleat to lock into. You can watch how I did that in the video at the bottom of this page.
I was able to hit my target size of 18″ high and 60″ long, but just barely. I had no blocks to spare:
.jpg)
With it finished with several coats of water based polyurethane and mounted up on the wall in my office, it does look very neat indeed. I doesn’t do a whole lot for the sound in the room, but every little bit does make a difference:
.jpg)
The build video:

I made a video showing how I finished it and mounted it on the wall: