How To Build A Toolbox With Drawers Workshop Projects
Originally this toolbox was supposed to go with the large mobile toolbox I made as a matched pair. Much like the metal mechanics boxes that are popular, it would be sized to sit on top of the larger one and provide storage for smaller tools. However since I’ll be using that larger toolbox under my new workbench, I thought it would be more appropriate to design this one as a stand alone unit. That gave me some more latitude as far as design, materials and size went, since it won’t have to match the other one.
With that said, they are still a great match. So if you are looking for an alternative to the expensive metal ones, enjoy woodworking and don’t mind actually making something nice for yourself, this should be for you.
Design, Materials and the Rough Stuff
I decided to use ash for the bulk of the box and selected four rough boards to use. These are actually some of the worst ones I have in a stack of around twenty. My thinking here is to use up the least “perfect” ones for this project, and save the better ones for something more worthy. Not that a toolbox isn’t worthy, but come on, it’s still ash which is a beautiful hardwood, even the less perfect bits!

I ended up using just three of the four boards (plus another shorter length from another board) and got those milled down to the correct thickness with my homemade jointer and thickness planer. Notice how one is trimmed short and that’s to remove an especially bad part on the end. No point milling down something that’s unusable. Also I had to cut one board in half because it wasn’t straight enough – I’d lose too much thickness trying to plane it down flat.

I did use the fourth board to make parts for the drawers, though. That one was darker in colour and had more grain defects than the other three. It’s best to avoid grain defects when you need longer parts, since they make the wood more prone to twisting, bending and warping.
If you are interested, I made a video showing how I divided those rough boards for maximum yield:
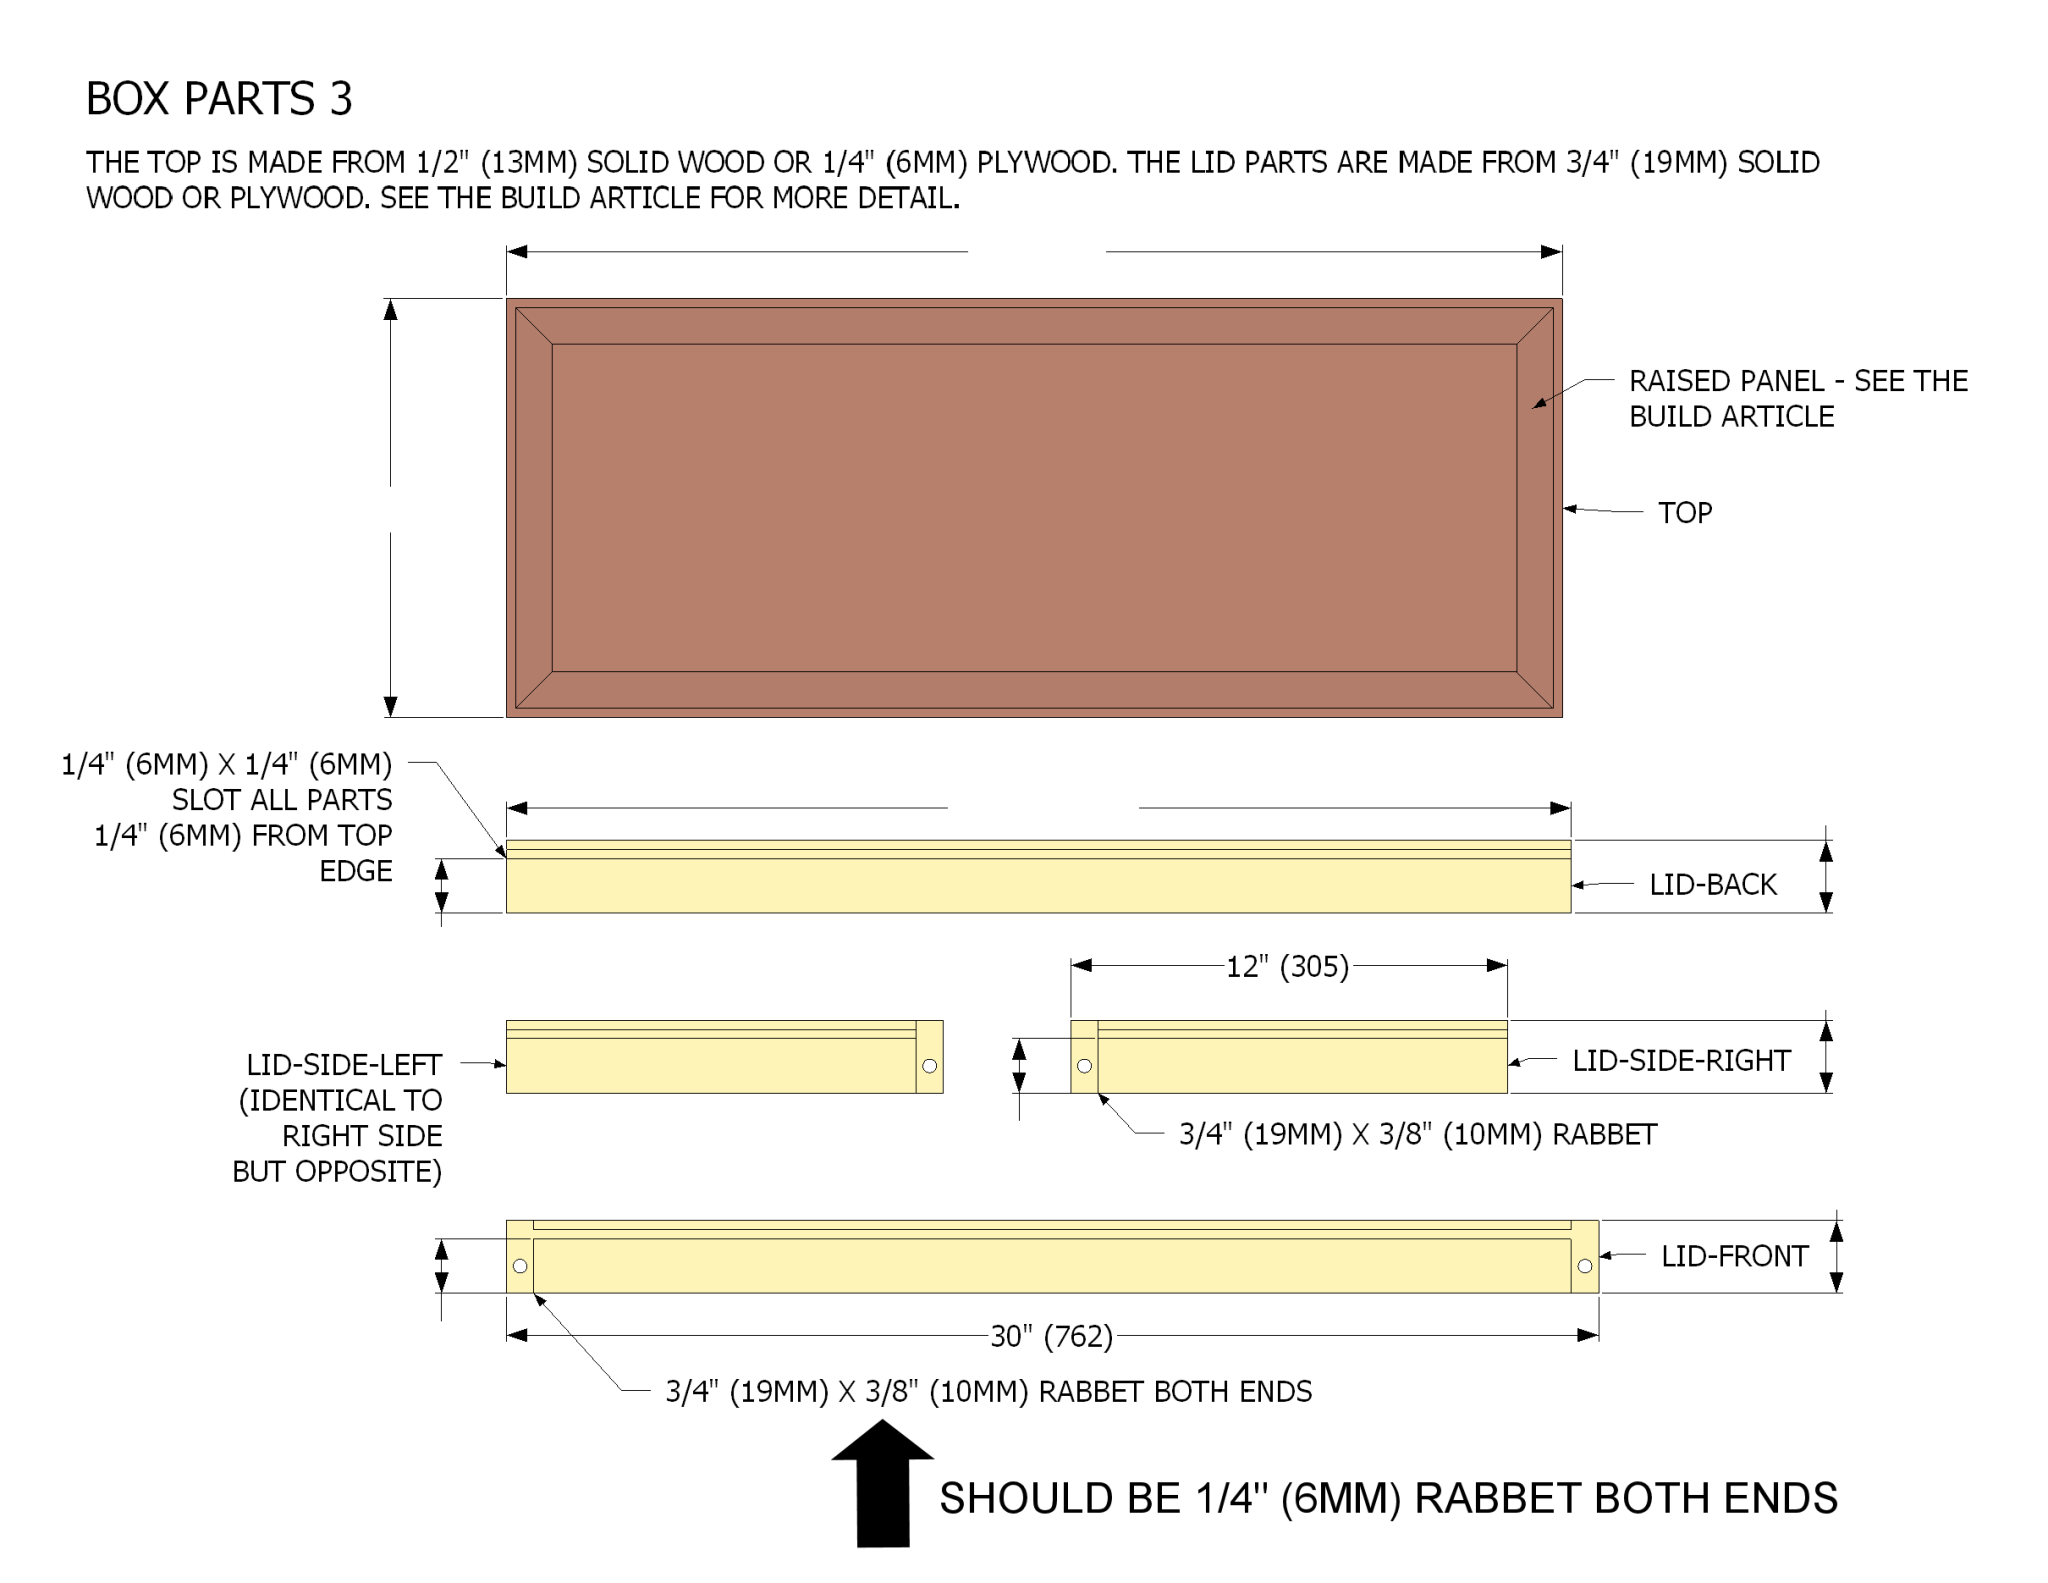
PLAN CORRECTION:
I made a mistake on the plan (now fixed), it’s on the “BOX PARTS 3″ drawing on the Lid-Front. Both rabbets should be 1/4” (6MM) deep:
I had to glue three boards together to make panels wide enough for the back and sides. While it would be nice to have boards that are wide enough to begin with, they are expensive and hard to find. Besides, a multi-board glue-up is actually more stable than a single board. So what you lose in time to put it together, you make up for with overall better performance.

And now’s a good time to point out that a good quality plywood would be an excellent choice for this. But you’ll want to avoid mixing it with wider solid wood parts unless you know how to deal with the problems that creates. Solid wood expands and contracts with seasonal moisture changes and plywood doesn’t, so you need to be careful to allow for that difference.
Basically, if you want it to be plywood, use that almost exclusively. And only use solid wood for the smaller parts where the expansion / contraction won’t cause any problems.
I used biscuits in the joints of these panels to help keep them in line. This one for a side panel has one #20 biscuit in the middle and I used spring clamps on the ends:

I always make a list of the parts I need and how many of each on projects that have a lot of parts. Sounds obvious, but I don’t know how many times I messed up and ended up short. It’s well worth the few minutes it takes and then I also check off each one as I get them done. And then I double check!

While it would be perfectly OK to build the entire box from one type of wood, I thought I would add an accent to make it look extra fancy. And it doesn’t get much fancier than black walnut, right?
These are the strips that will make up the top panel of the box. I cut them from the edge of a 2″ thick board and that gave me this quarter sawn grain pattern that’s a mix of sapwood and heartwood:

Even though the guy at the place where I bought this wood said it wasn’t, I think this is steamed walnut. Steaming pulls some of the darker colour out of the heartwood and into the sapwood, making it darker. In any case, there is a definite difference and I though showing that off might be interesting. Unfortunately the sapwood on the end was stained darker than I thought and since walnut is not cheap, I didn’t cut enough off that end to get rid of it.
I’m using polyurethane construction adhesive for this glue up. The longer open time and how well it works in my cold shop are the reasons. Again I’m using biscuits, but #10 this time:
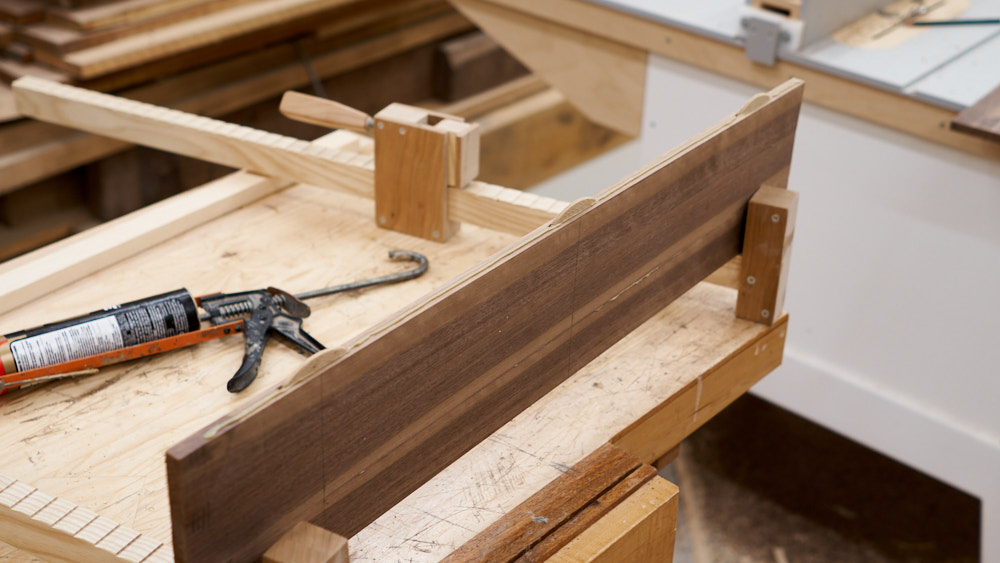
The glue also has the advantage of viscosity – it’s not dripping and running everywhere.
Here are all of the parts made and ready for further processing:

I prefer to do it this way: cut out all of the parts to the right size first, then get that “further processing” done. That’s where the joinery is cut and the other machining operations needed for the finished part. That includes a rabbet in each side panel where it meets the back panel. and the various slots for divider panels and the drawer slides. I just find it more efficient to do it this way – from rough at the start to progressively more detailed. I guess it’s a mindset thing that I find helpful to stay focused.
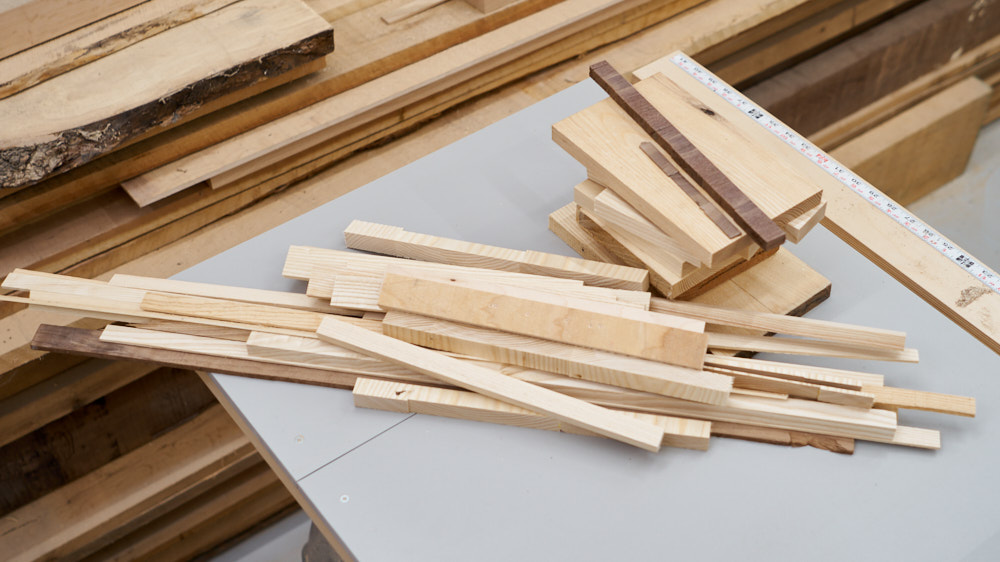
Oh and here’s the waste, other than planer shavings and sawdust. Not much! And for that walnut panel, not enough…
The Finer Details
Normally, especially for a project this big, I like to have the plans semi-finished before I start. So that’s what I’m going from when I marked the locations of the many slots that need to be cut in the side panels. I always (at least now, after learning it the hard way more than once) mark it out on the panel itself. That way I can see exactly where the cuts need to be, rather than just going from the dimensions and moving the saw fence.

I can set the fence and visually check the alignment of the cut by comparing it to the marks on the part. And this happens before I even start the saw.
The results of this small amount of extra work are that the cuts line up properly and are where they need to be. You might notice the back panel is shorter than the side panel and think: “Aha! You did mess up!”. Not this time, the back is shorter for the full length piano hinge that swings the lid:

I made all of these cut on my table saw with a single flat topped tooth blade. A dado blade would get it done faster, but then there’s set-up time to consider. I just use the single blade when I have a relatively small number of these to do. Another option is the router table, but bits dull way faster than saw blades and make a nastier sound. If I wanted to be screamed at while trying to get something done, I’d get married again.
These two parts make up the front of the box. The rest of it is covered by drawer fronts. These have rabbets on the ends and slots for the 1/4″ plywood bottom panel and tray bottom:

Again I did all of the cuts on the table saw.
These are for the lid and the “X” is where I need to cut a rabbet on one end of each side part. These have to be on the correct end, to make a mirrored pair and the “X” helps with that:

Here you can see what I mean after the rabbets are cut. The front of the lid also has rabbets, but on both ends. I did manage to mess this up, though, by cutting the rabbets too deep. I glued a filler piece in after to fix it and it’s visible on the finished box, but not noticeable. By that I mean you might see it, but you may think it was just part of the build.

I ran out of ash and had to make one part from red oak – the divider between the bottom drawers. This one has the slots for the drawer slides on both sides and is sized to fit behind the front bottom rail seen here standing up:

If you have the plans for this toolbox you may not recognize these parts. They are actually the drawer fronts that I made the hard way. I realized that not only are these needlessly complex, but they also don’t work well, so I changed the design to something much more sensible:

In this video, I explain the problem and what I did to fix it.
The new drawer fronts are made with the same material as the rest of the box, but cut down 1/2″ thick. If using plywood, just use 1/2″ plywood instead of 3/4″.
Speaking of 1/2″ thick, that what the drawer sides are. Made from that darker piece of ash with the slots cut for the drawer slides:

I also cut a 1/4″ square rabbet along the bottom of each of these for the plywood bottoms in the drawers, but forgot to take a picture of that.
The slides are just simple strips of hardwood to begin with, but also need further processing. To be exact, they need slots for the screws that will hold them in place and act as stops. The fastest way to cut those slots is on the table saw and make a stop cut just over halfway through. I did all eight on one end first:

Then I closed the end of each slot with a filler block cut to the right thickness. Another way is to use a 1/8″ bit in the screaming wife… router table. This avoids having to glue a block in the end, but then you need a 1/8″ bit. I didn’t have one that was sharp enough, so I did it this way.
Gluing the filler in before cutting the slot on the other end is important. While making a stop cut like this can’t be considered “dangerous”, it works best if the stock is solidly supported against the fence in front of the blade. Gluing in the filler provides that support.

After the glue dried on the first end, I cut the second slot on the other end and glued in the filler. When that dried I trimmed off the excess filler off that’s sticking out of the ends. Sounds like a bunch of work, but it really didn’t take long at all.

Last operation to do on these slides is to cut a countersink in each slot for the head of the screw. I used a “V” bit in my router table and set up a guide strip and stops:
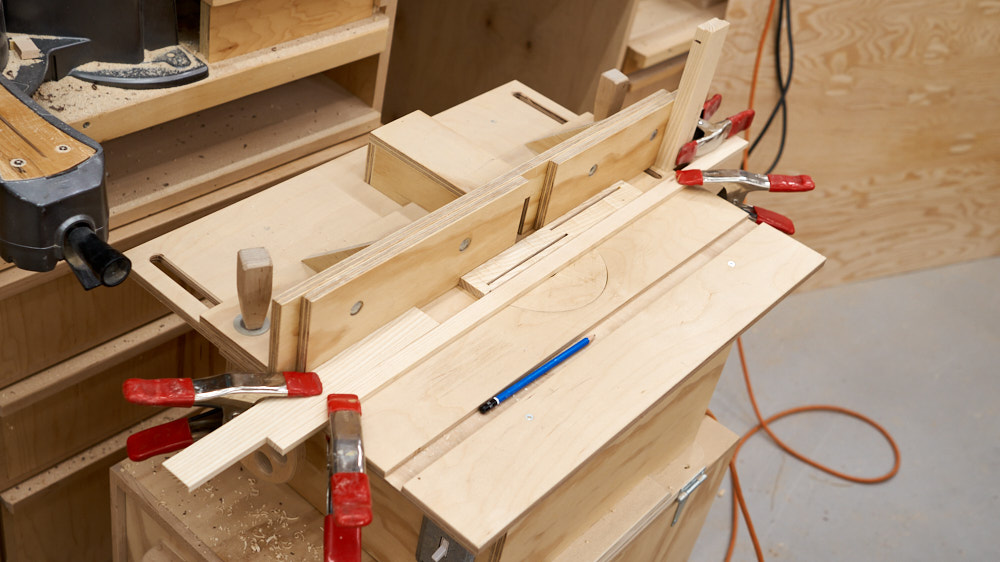
This countersink is cut on one side of each slot only, but on opposite sides. Does that make sense? Yes, yes it does.

In other words, when you flip the slide over, it will look the same with one slot countersunk. I think the build video near the bottom of this page shows this a bit more clearly.
The screw that holds those slides in needs to be accurately placed and I made a guide stick to help with that. I go into more detail in the video on making full extension drawer slides. So if you haven’t seen that already, you should check it out.

“F” marks the front of the guide stick and the drawer parts. These need to be drilled toward the bottom of the slot on the drawer, and near the top of the slot on the side of the box. But to avoid confusion you can just drill both holes in each. That’s actually what I ended up doing for a few, so if I did it you can to.

Getting fancy with the top for the lid, I set up an angled fence on my table saw to cut a cove into the edge to make a raised panel. This can also be a simple rabbet that thins the edge down to fit into the slot, or you can use thin plywood instead.
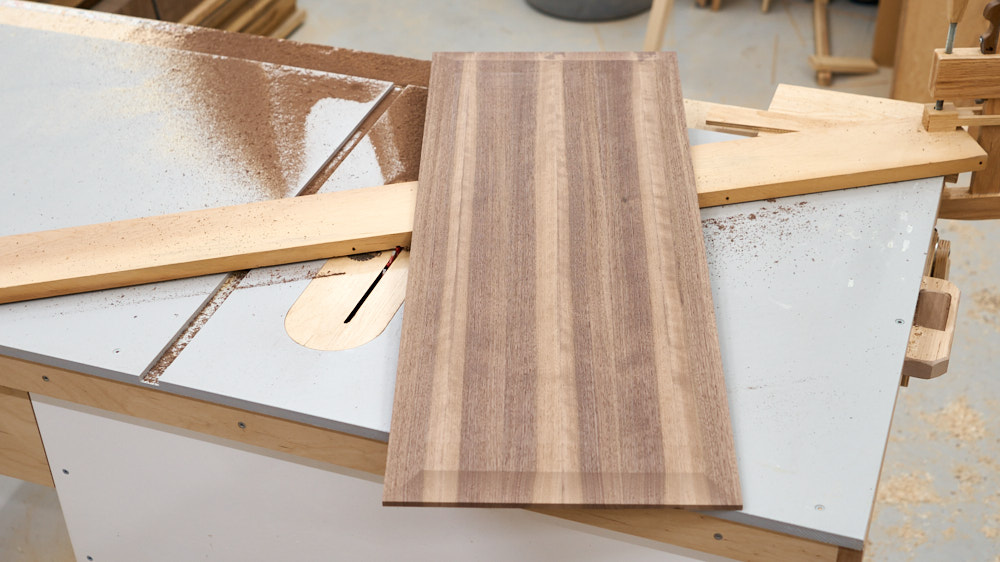
Setting up the angled fence is a matter of trial and error until you have the right cove. I ended up making just two adjustments to the fence to dial it in on a sample piece. Angling the fence the right way to feed the stock into the blade (rather than out of it) is important.
The pulls for the drawers are just simple “L” shaped strips that are rounded on the front edge. I made mine fairly low profile, but you can make these stick out farther if you prefer just by making them wider.

Assembly
I started with the lid mainly because I’d just finished sanding the walnut panel and I figured the best way to keep it from getting damaged was to put a frame around it. I glued the lid-back and lid-sides together first and let that dry, then slide the panel in and glued that to the lid-front. That secures the panel to that front rail and adds a lot of strength. The back rail will get extra strength from the full length piano hinge.

It’s important to leave a gap for the panel to freely expand and contract, and that needs to be in the back slot. Not need to make the panel shorter in length, since it doesn’t expand and contract that way.
Next I fastened the slides in place. Here’s the divider between the bottom drawers and you can see the screw driven in through the bottom slot on one side:
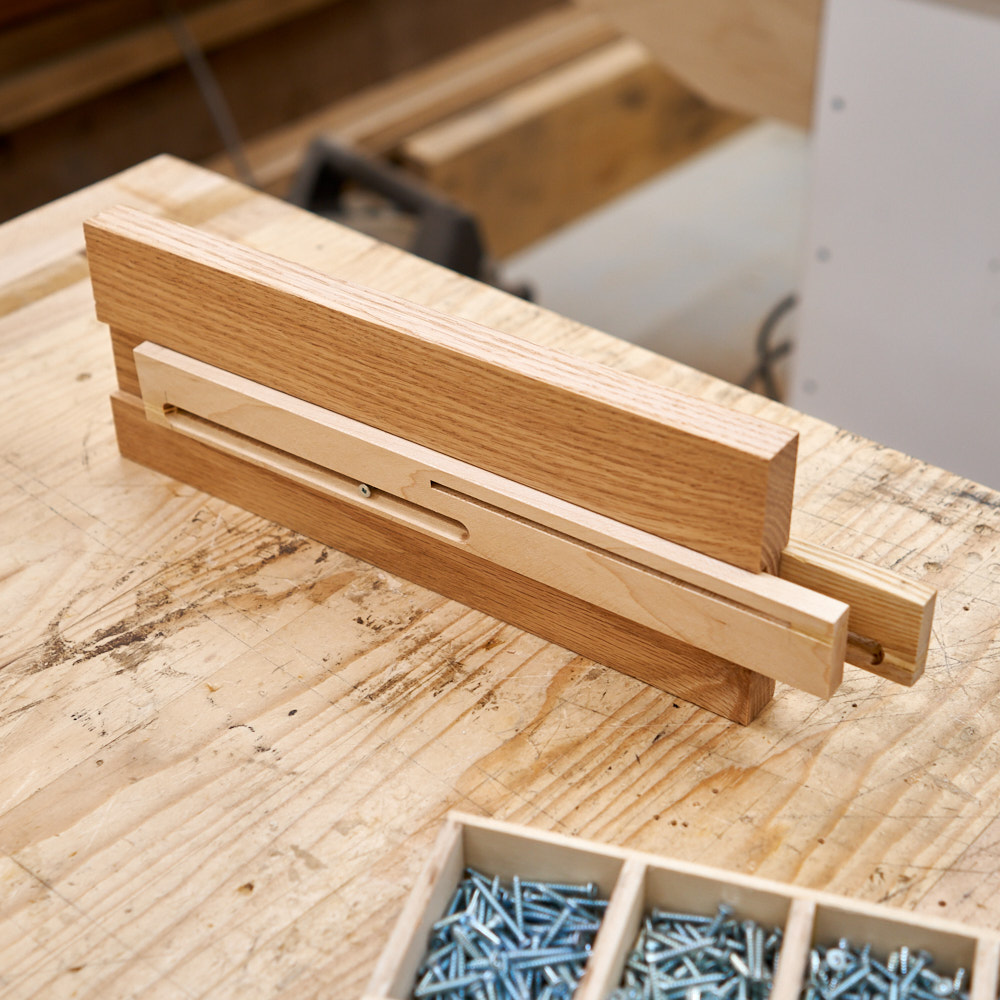
And the upper slot on the other side.

You need to keep in mind that this divider is 1/4″ short of he front, so the slides should stick out that much on the front.
I added the slides to the side panels and then glued in the bottom and back panel. Gluing on the front-bottom rail helps to keep the sides the right distance apart as the glue dries.
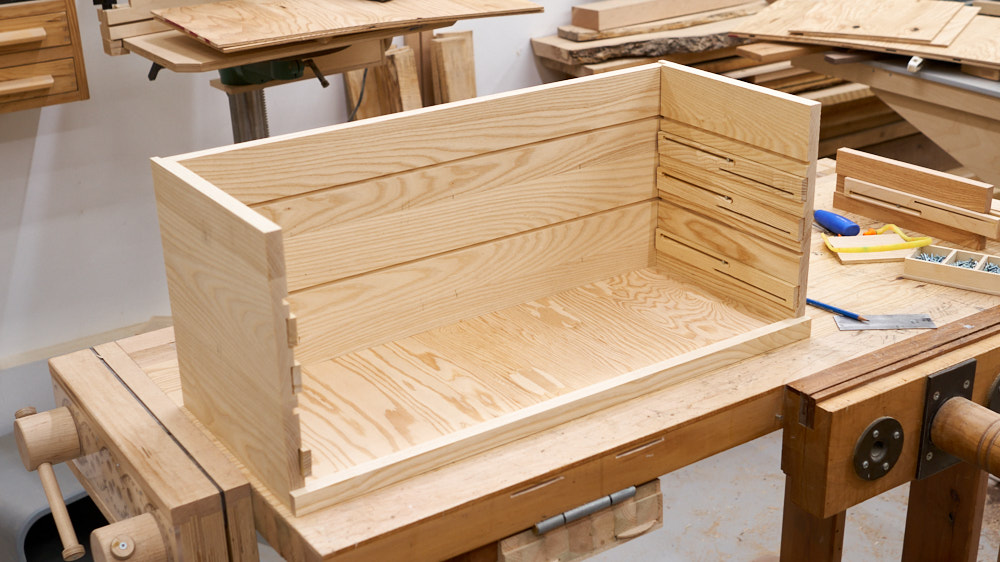
The divider was next and I used the partially assembled drawers as spacers to get it centered. Here you can see how the slides stick out slightly on the divider:

Then it’s just a matter of putting everything else together. You’ll want to make sure the drawers fit correctly before gluing them up. They should have a little side to side play and slide freely. Now’s the time to make the adjustments before the bottom is glued on.
As designed, the drawers are not as deep as box and this was on purpose. Better to have a bit of extra space rather than trying to cut a drawer shorter to fit. A good way to add a stop to the back of the drawer is with just a screw driven into the end of the side. This will hit the back of the toolbox when the drawer closes and is super easy to adjust:

As I mentioned earlier, I made these drawer fronts the stupid way, so this picture shows mine attached. But the plans were drawn by the smarter version of me where the fronts get added after the drawers are assembled and installed in the box. The plywood bottom panel is glued on and I drive in a bunch of 3/4″ brads as well. If clamps are your preference, then by all means clamp it instead.

All four drawers put in for a test fit to make sure the gaps are even and they work smoothly:

My assembly differs from the plan instructions. When you are doing stuff on the fly, occasionally you’ll do things a bit out of order. But the important thing is that it gets done.
Here I’m gluing in the middle divider panel and clamping it down to the drawer divider on the bottom until the glue sets:

I also decided I would route some finger grooves along the top edge of each drawer. These work with the pulls, but are strictly optional:

Next the lid is installed with a piano hinge. You can see how I did that by clamping the lid to the box and lining up the hinge equally on both.

I made a short video with some tips on how to install these hinges and make adjustments:
I put the lid on before sanding the outside of the box. That way all of the faces will line up nicely.

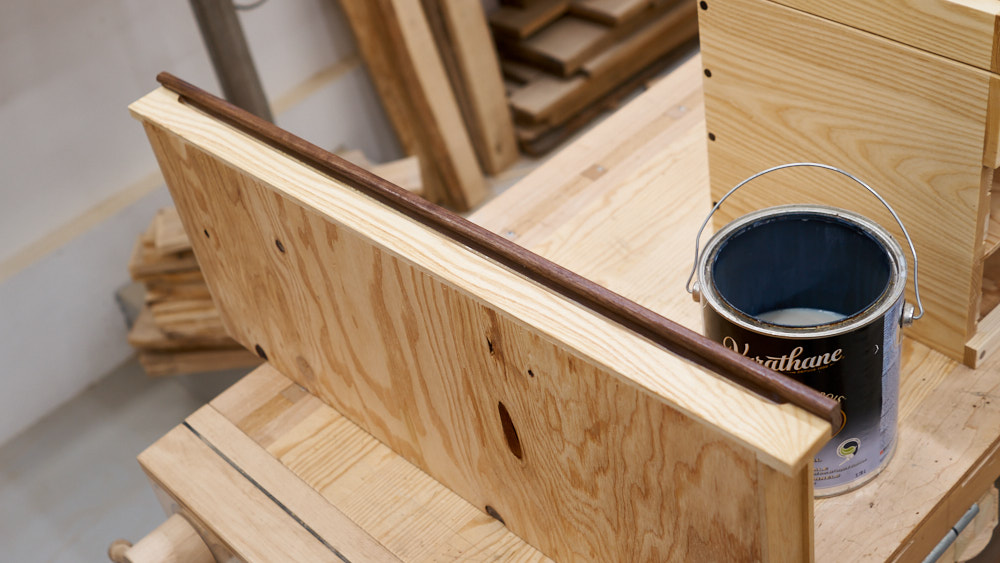
The last act is to apply some finish. I’m using water based polyurethane and brushing on three coats, lightly sanding between coats. I’ve come to prefer this finish more over the last year. It dries fast, provides excellent protection that stands up to wear and tear, and doesn’t give the wood a yellow cast. The wood retains more of its natural look.
I forgot to talk about the dowels. I made a 3/8″ one from the same walnut I made the pulls and used 1″ long pieces to reinforce the box joints and add a contrasting accent.

These are kind of optional (but recommended) and are located where they won’t go into a slot cut in the adjacent part, so it’s a good idea to mark the locations before you assemble the box. I put mine 3/8″ in from the edge, so centered on the thickness of the part they are being glued into.

I sized the lid to be big enough to hold handsaws. Here I have a pair I refurnished and I just need to make holders to keep them in place:

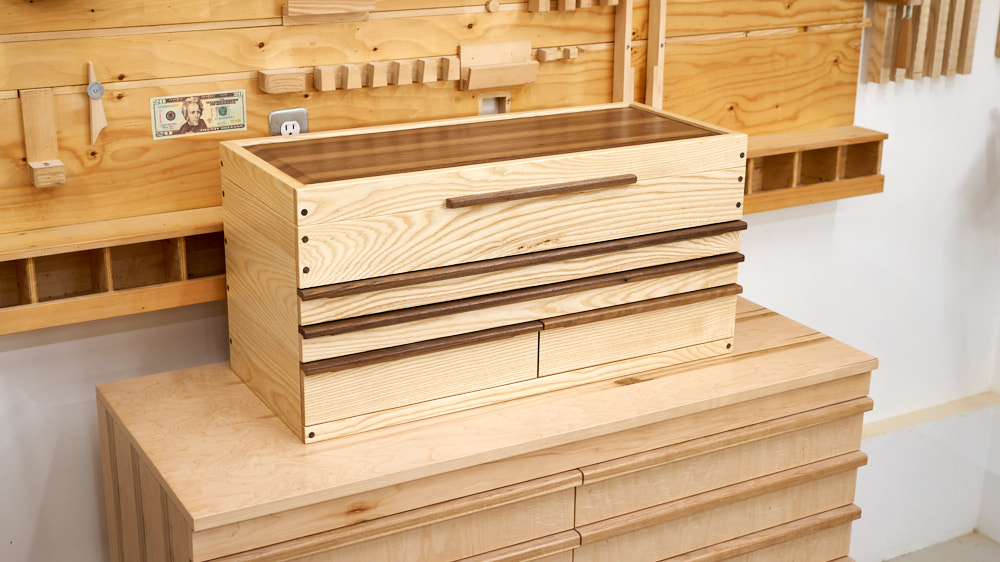
After it was done I made and installed the handle on the lid. It’s just a piece of walnut screwed on from the inside and makes opening the lid a bit easier.
Here’s some typical toolbox hardware that I took the time to paint black. I couldn’t bring myself to put it on the box, though.

I made a short film covering the build in detail:
If you want to build one for yourself, and you definitely should because you deserve it, plans are available:
The Woodworkers Toolbox Plans
